Car diagnostic tools information by obd2tool
Welcome to my blog,here some auto diagnostic tools will be displayed. If you want to know more information,you can visit our official website: www.obd2tool.com.Car diagnostic tools information by obd2tool
Welcome to my blog,here some auto diagnostic tools will be displayed. If you want to know more information,you can visit our official website: www.obd2tool.com.How to find your part number in SIS
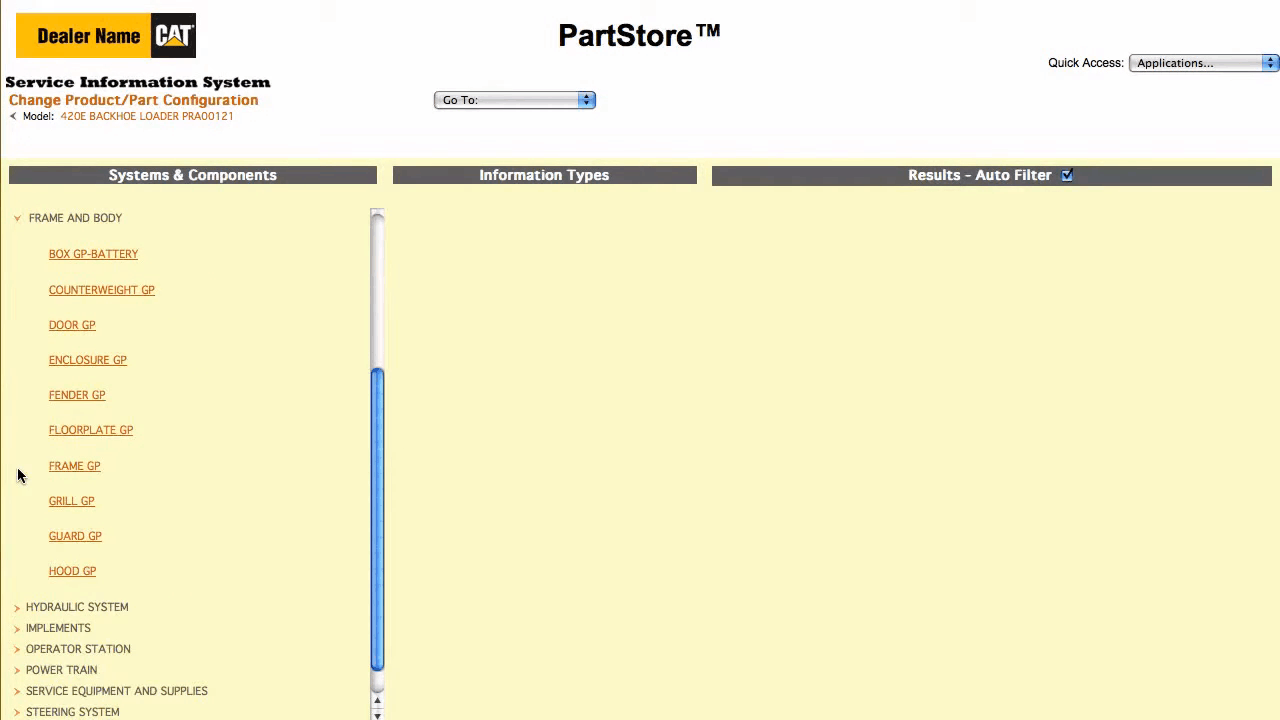
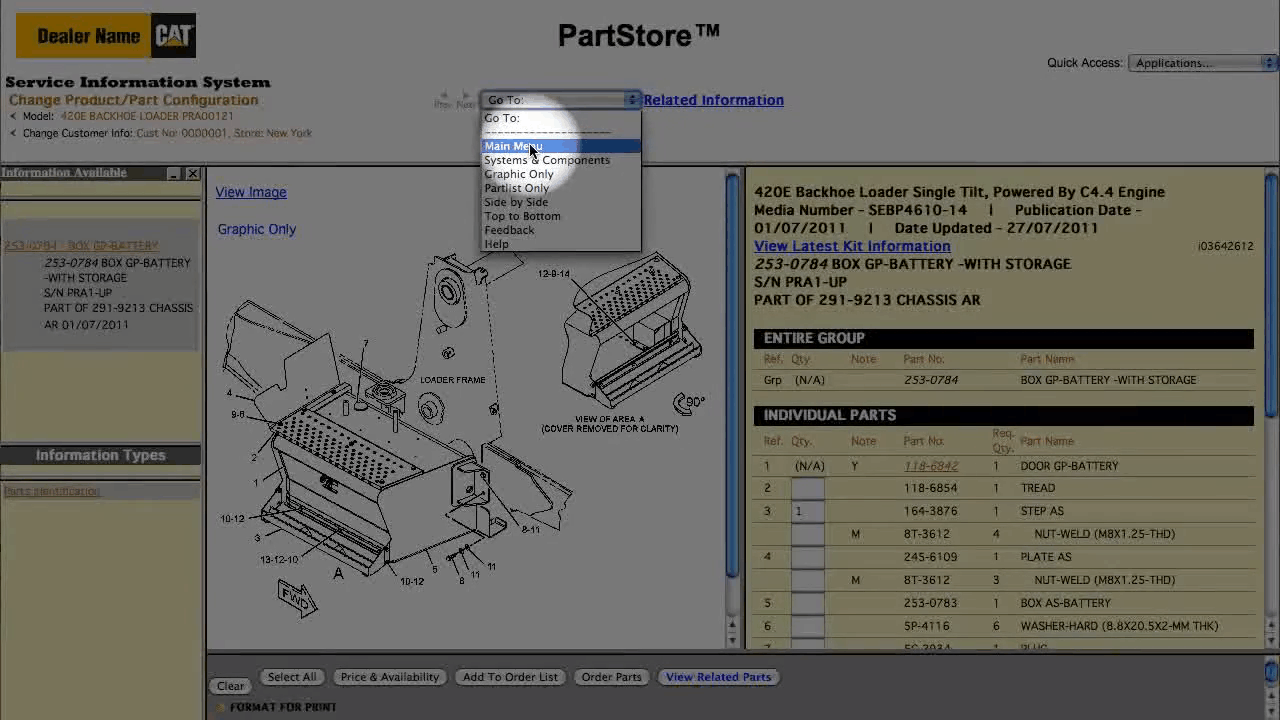
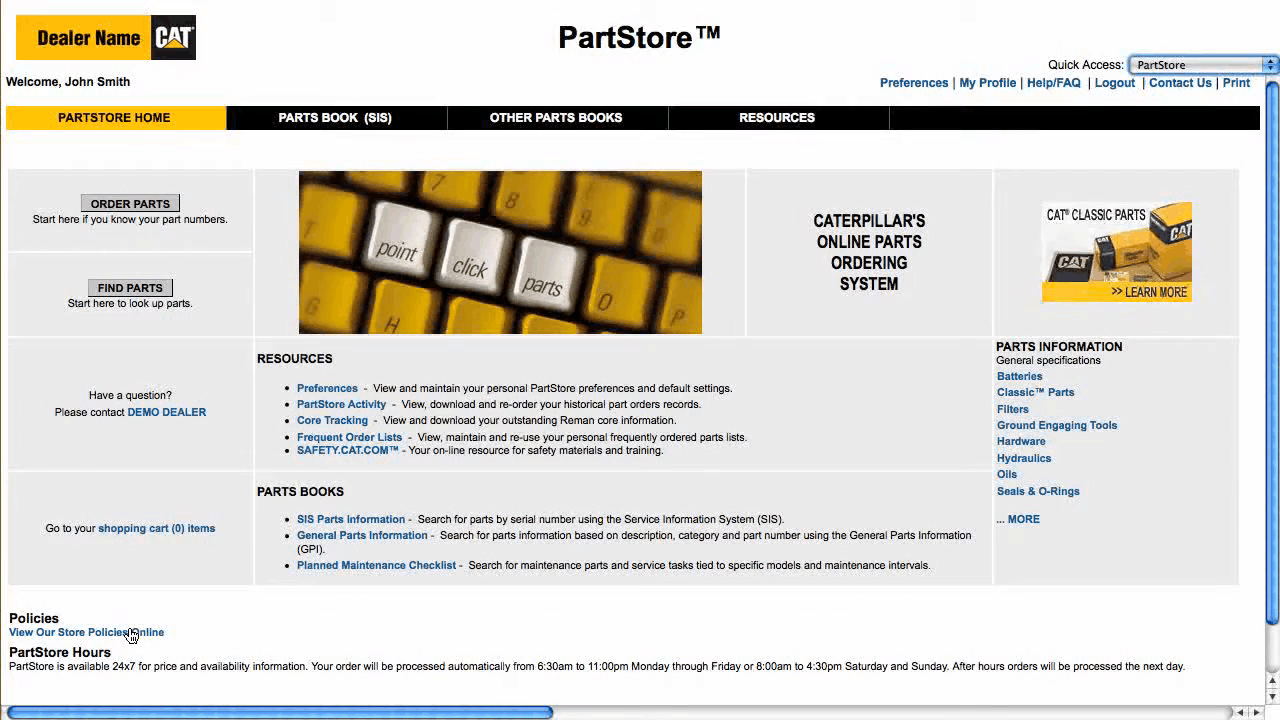
This article will show you how to find the part numbers you need. You have a couple of ways to look up part numbers. You can look through our parts catalogs and read about all the benefits of our parts, or you can jump right into the cat service information system with detailed parts, drawings and schematics. That’s what this video will focus on. This is the main menu of the service information system. To get back to your parts list in part, store use the pulldown menu in the upper right. Let’s get started we’ll enter the full serial number of a 420 backhoe loader, using a full serial number. It simplifies the search for parts. If you already added machines to the system, you can select one from the drop down menu or type a serial number manually. Let’s say we’re looking for a replacement step on the battery box. A great way to search is to break the machine into major components, click on systems and components, select frame and body, and then the battery box group.
Related product: Caterpillar SIS 2022 CAT SIS 2022 Service Information System
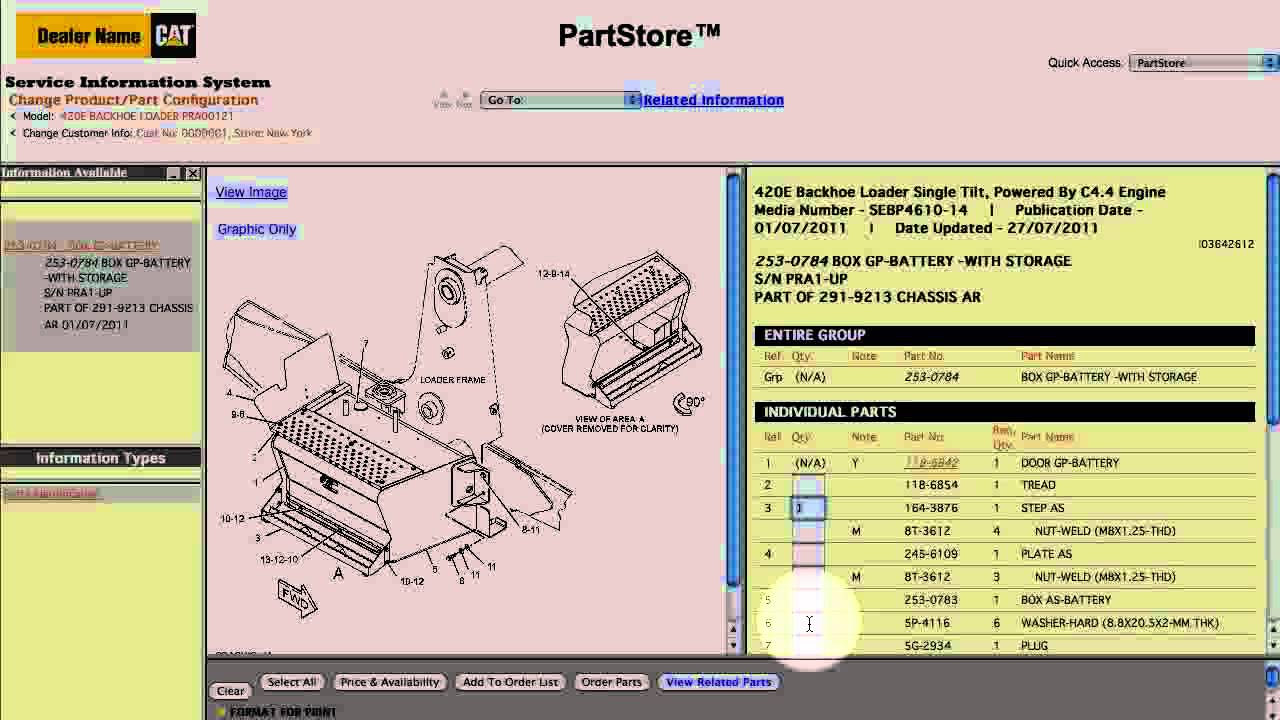
We have one result. One part group that matches the 420 e’s serial number click on it. Here are all the parts in the group. We just need the step notice when we click in the quantity box. The quantity is automatically populated with the required quantity. If we click on washers, the system says we need six. We can click price and availability to view those results within the service information system looks good. Now, we’ve got some options. We can click order, parts which sends us back to the parts list on parts door to finish the order or add to order list to keep shopping within the service information system. Let’s continue shopping to search for other parts, select main menu. Our 420 e needs a new air filter this time, let’s do a filter, search.
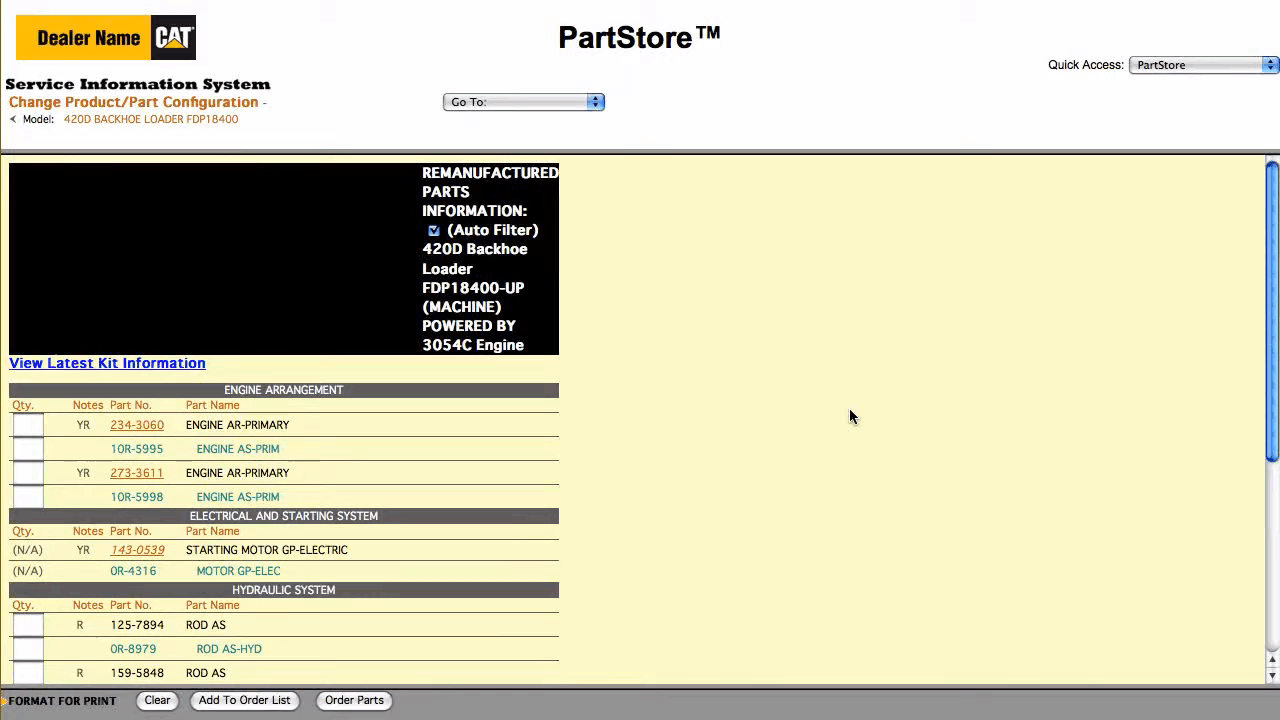
The filter search shows all the filters on the machine by system or components. Let’s look at the basic air, cleaner group in our air, inlet and exhaust system. There are all the parts in the basic air, cleaner group: we want the primary filter, click, the quantity box. We’ve got everything we need, so click order, parts and return back to the parts list on parts tour and can click next to see price and availability and order the parts another great way to look for parts is using the as shipped product search. It finds all the parts on your machine as it was shipped from the factory. Let’s enter the serial number for another backhoe loader. This one is at 420, d and clip as shipped product. We need a replacement seatbelts for our 420 d, so select the seatbelt group. We could order the entire group or some individual piece parts. Let’s get the group again, I’d select order parts to go back to parts store or add to order list to continue shopping. Here’s something to keep in mind if you don’t find anything in a particular search. Click to add a filter to show all available parts options for machines with the same serial number range. You can also do a simple part search just plug in a keyword or part number or you might want to do. A search for remanufactured parts. Selecting reman search shows you all the available reman parts for your machine and there it is still not sure what the right part number is click the help, slash faq link for online information or contact us to reach the parts experts at your cat dealer and, of course, make sure you understand your dealers return policy before you buy.
That’s it now you’re ready to use the service information system to find parts, numbers and add parts to your parts, store order with part store.
You have online access to the right parts for your equipment from your cat dealer anytime,
First time to activate mb sd c4 steps

Open your MB Star C4
Set you com port to Com2 , 115200
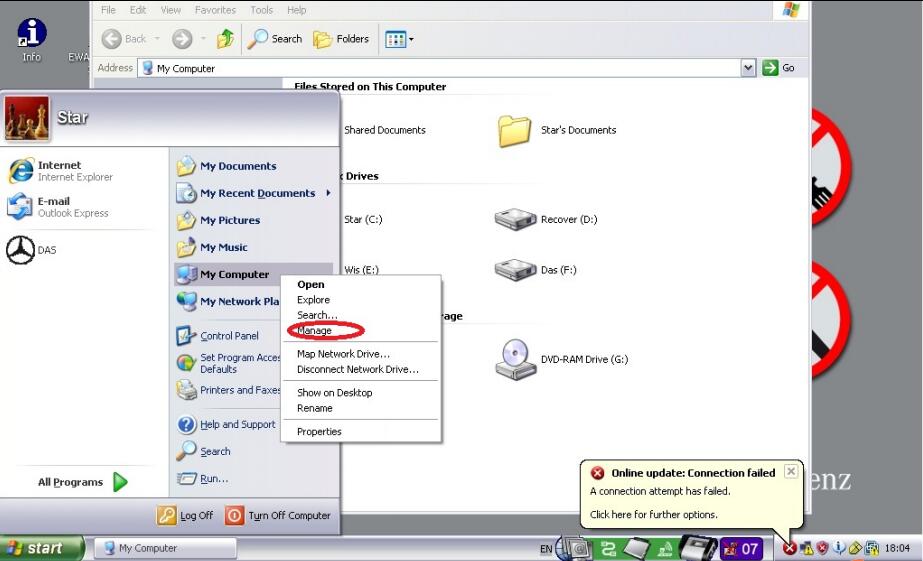

Open the EPC_Net
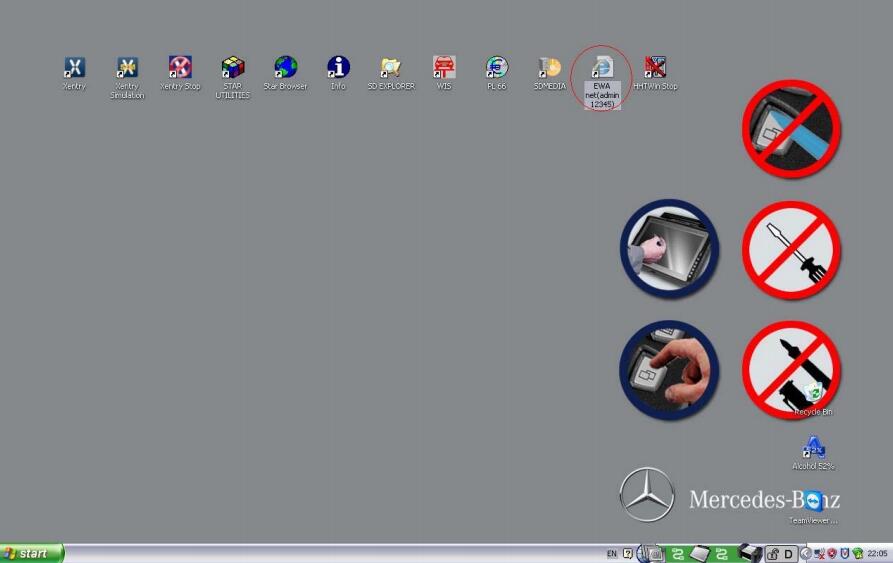
User : admin passwd: 12345

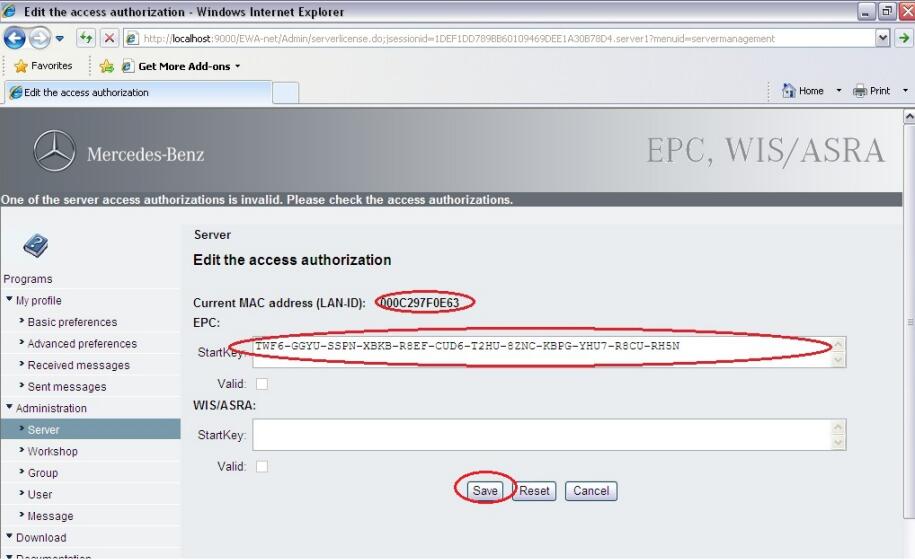
Click “Server”

Click “Edit the access authorization”

Send us the Lan-ID , We will give you a new startkey, Paste the new startkey
Active xentry
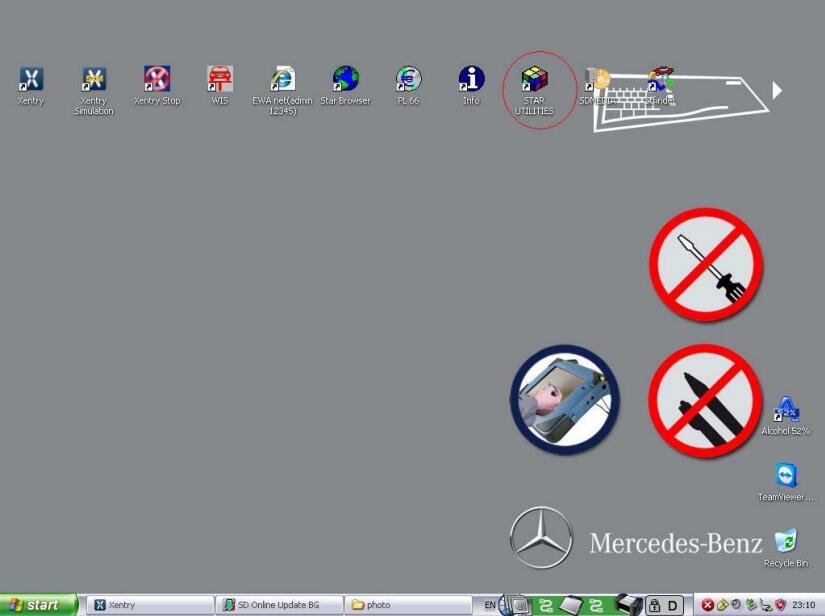
Open the StarUtilities
Send us you Xentry HW-ID and App-ID
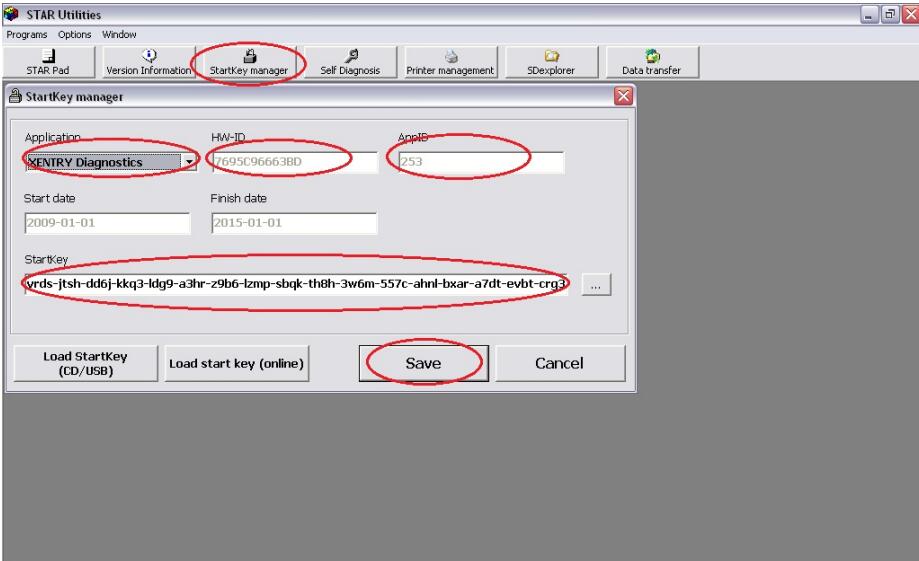
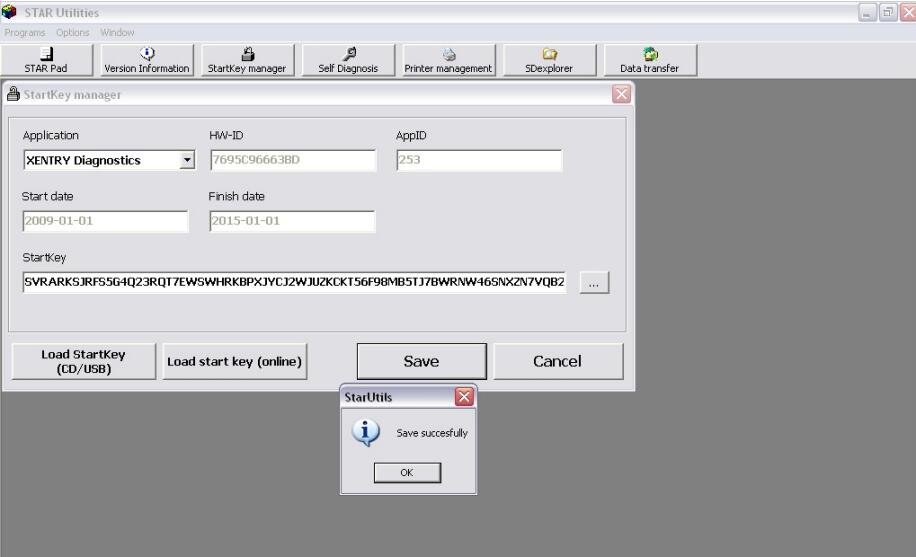
We will give you the new startkey, Save the new startkey
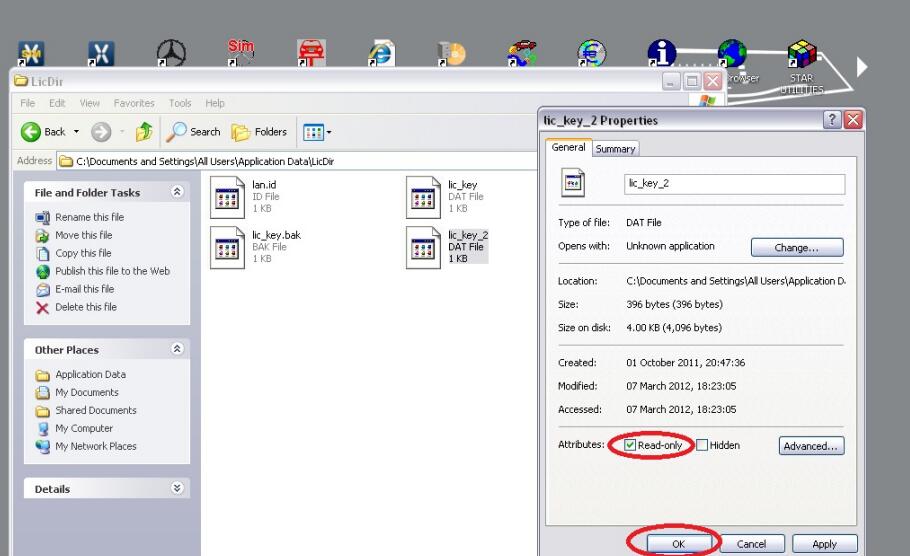
Go to C:\Documents and Settings\All Users\Application Data\LicDir
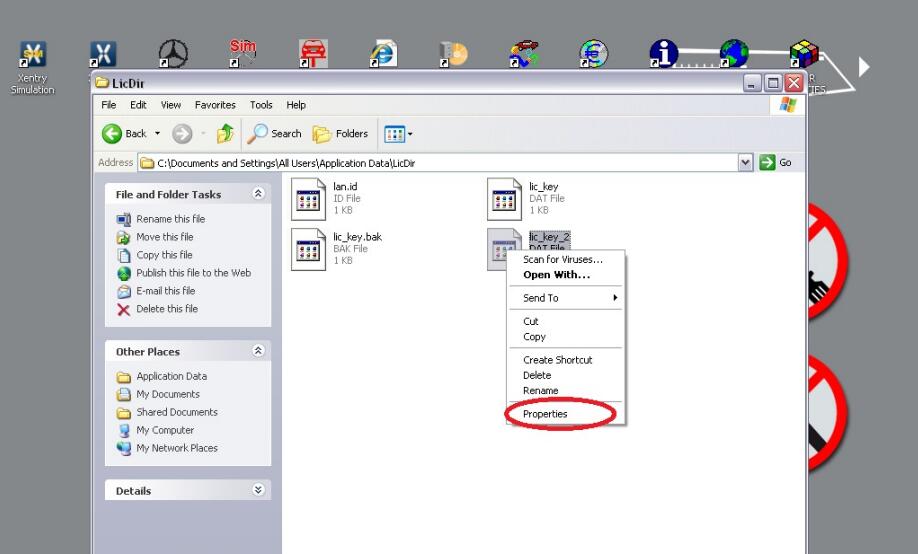
Set the lic_key_2.dat file properties to ‘Read-only’
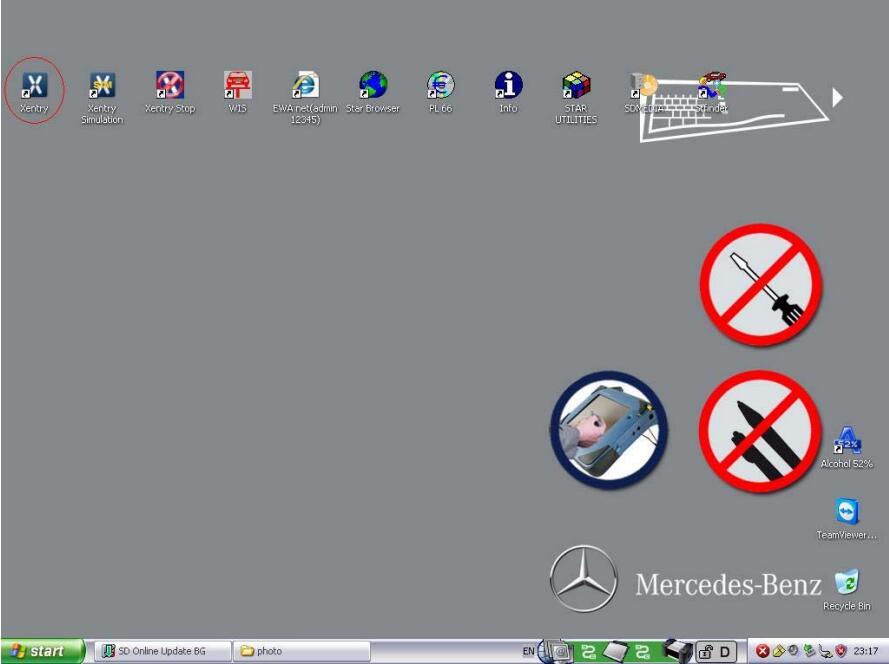
Active DAS :
Open Xentry
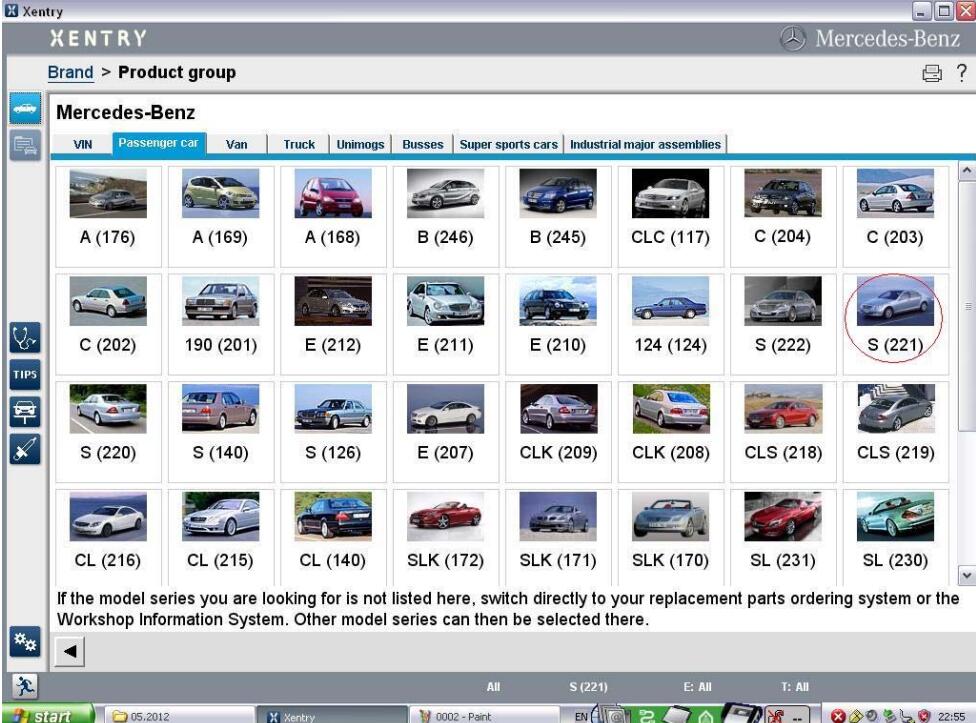
Choose 221 model
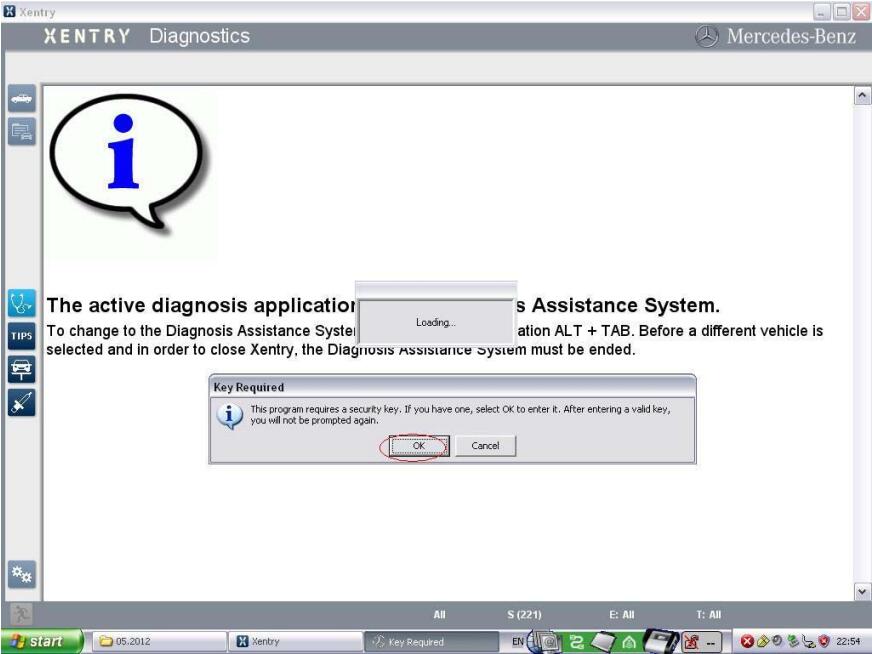
Click ‘Diagnostic’ button

Send us the Fingerprint ID
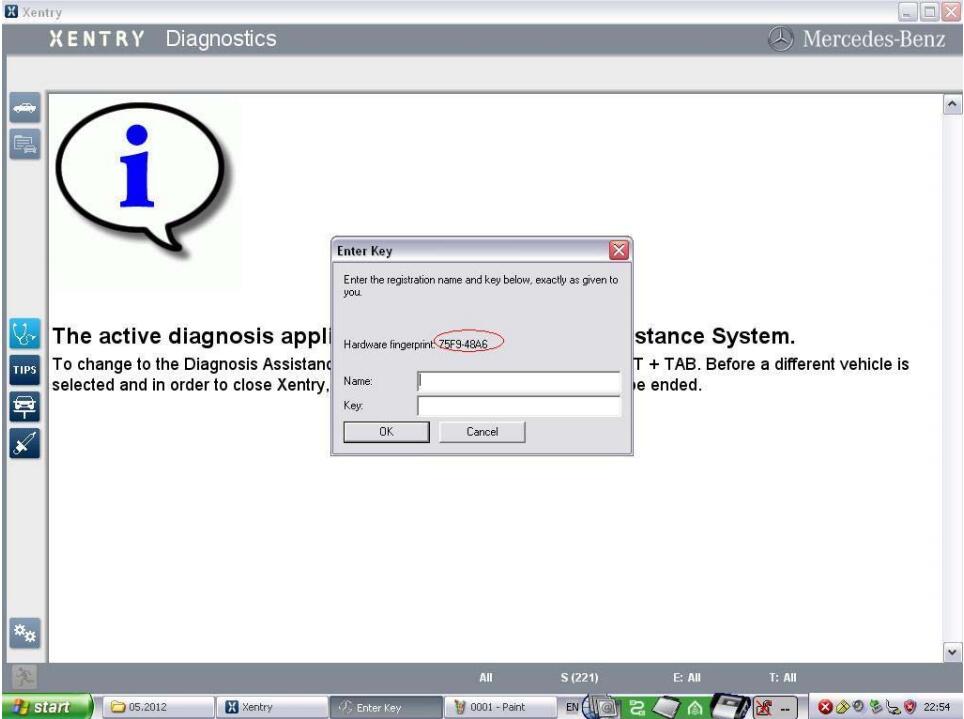
We will give you the name and key

Now everything is done!
What’s Tech2win software
What’s Tech2win software
Tech2win is Tech 2 emulator software and needs a 32 bit OS or can be run in compatibility mode. Seems it is kind of hit and miss what it’ll run well on. I would image most geeks can get it to work on their laptops, but that stuff is over my head. One review I read talked about a couple days getting it to work and it won’t do all programming an actual Tech 2 can do. Tech2win allows General Motors Tech2 diagnostic software to run on PC. This software is supported by one of the GM-approved diagnostic scanning tools (MDI or J2534 device). Tech2Win provides all the features and functionality of Tech2 for Opel, You can, v.v.
Functions of software
1. Read and clear error codes
2. View vehicle data
3. Activate the actuator
4. Perform powertrain, chassis and bodywork tests.
Languages supported in the software: multi language
Tech2Win Installation and Updater Guide
Tech2Win is the Tech2 emulator software for GM diagnostics. It allows you to use your J2534 pass thru as a Tech2 on GM vehicles. The following instructions will walk you through downloading and setting up Tech2Win.
NOTE: If you already have Tech2Win installed andjust renewed your subscription, please skip to step 13 Under “Installing Tech2Win Software” section.
NOTE: The GM website needs to have the proper level of Java installed and the security within the Java controlpanel setfor the GM website. Please see the note in Toolbox under the “Flashing” Tab, the “GM”, “GM Information” “Current Issues”. Follow the link “If you are experiencing Java issues, please consult this document.” LINK Once you have registered for your account on the GM website and have purchased you Tech2Win subscription, you can choose the “Access your Subscription” link under the Tech2Win section of the log in page. Installing the Tech2Win Driver.
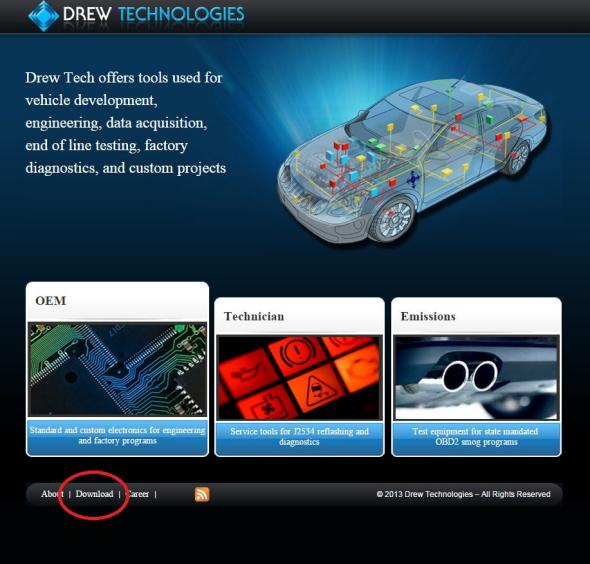
1. Open your internet browser and type in the address bar www.drewtech.com. Once on the home page, scroll to the bottom and click the “Download Link”
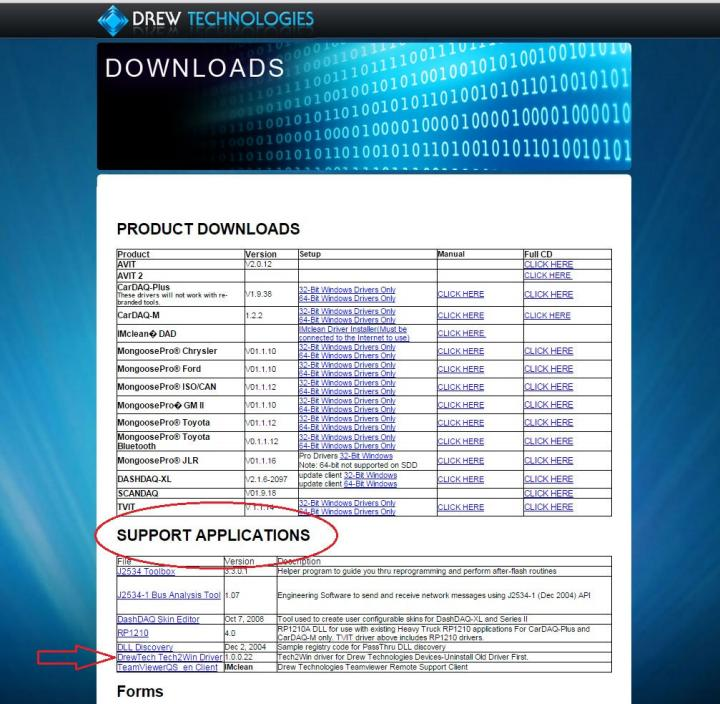
2. Scroll to “Support Applications” and click the DrewTech_Tech2Win Driver link. And choose “Run”
3. Follow the on screen installation prompts to complete the installation.
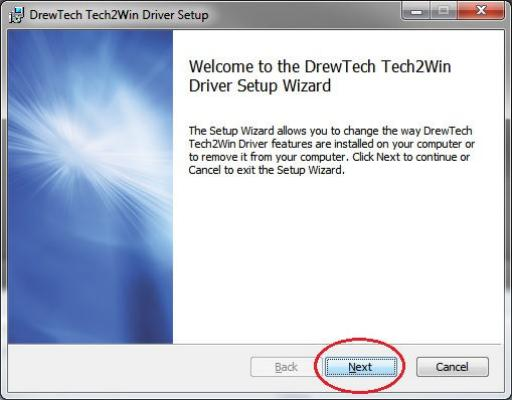
3. Once the Driver is installed proceed to the Tech2Win software Installation.
Installing Tech2Win Software.
1. Open you internet browser and log into you GM account.
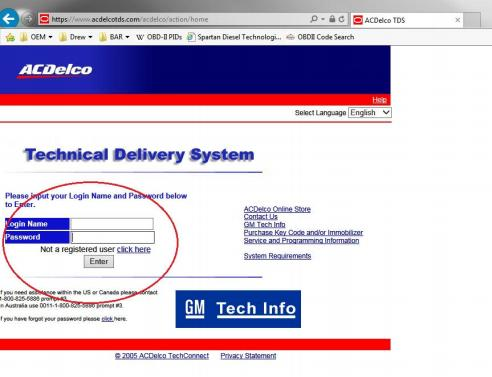
2. Agree to the terms and click “continue”
3. Choose “Service and Programming Information.

4. Choose “Access Your Subscription” if you do not currently have a subscription, choose “Subscribe Now” button
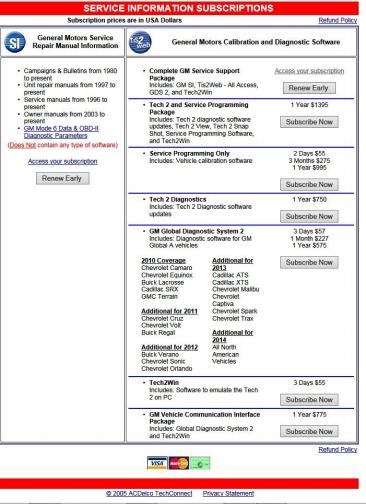
5. You will want to choose the (SWDL) Icon for the software download. See below

6. Click the “Start Software Download” Button. This will open Java. Choose “Run” to open the software download.
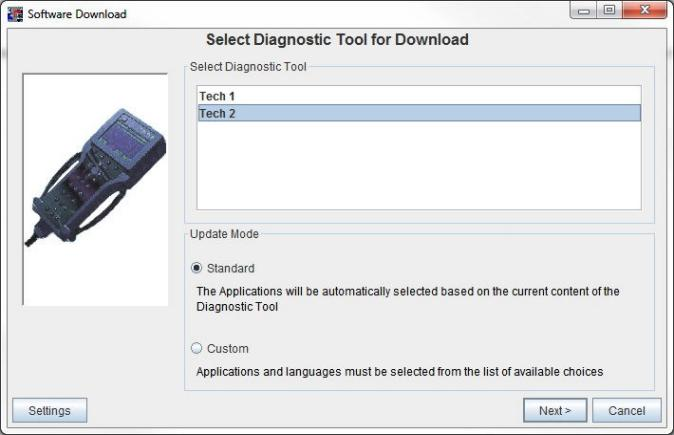
7. Once the Software download window opens, you will see the following screen.
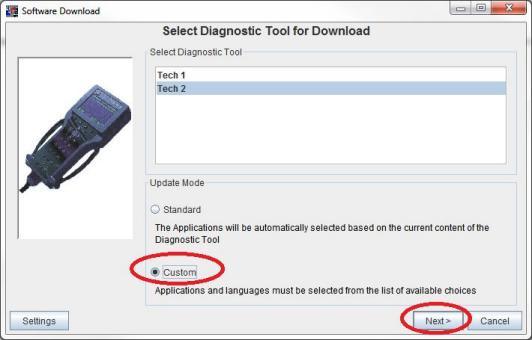
4. BE SURE TO CLICK “Custom” and Then “Next”
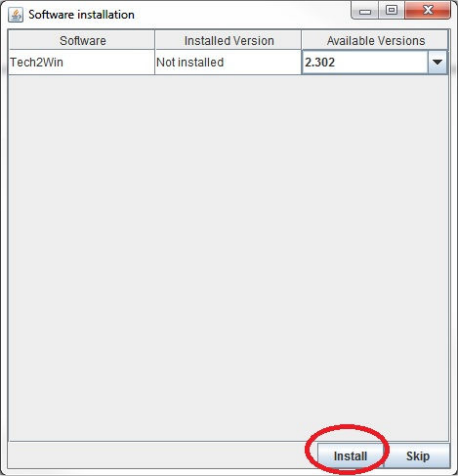
5. The software installation window will open. Click the “Install Button”
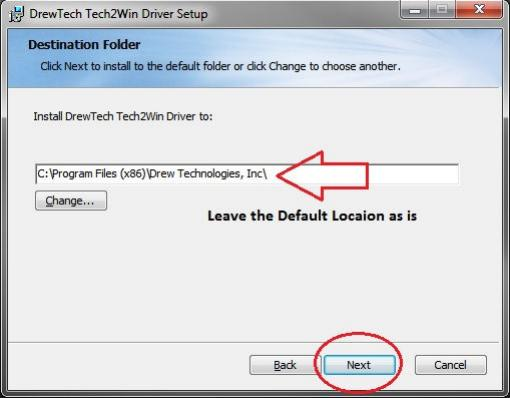
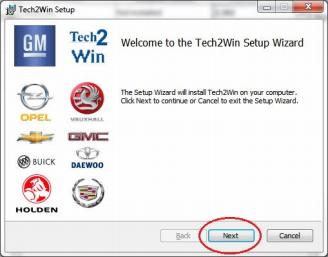
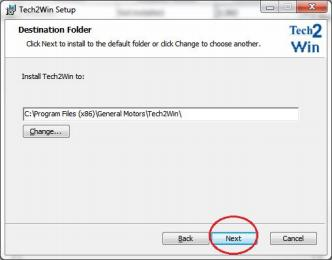
6. After the Java program locates the installer file, the Tech2Win Setup window will open. Click “Next” and follow the on screen prompts to install Tech2Win. Allow the program to install in its default locations. DO NOT MODIFY THE INSTALL PATH in any way, otherwise Tech2Win may not
function properly.
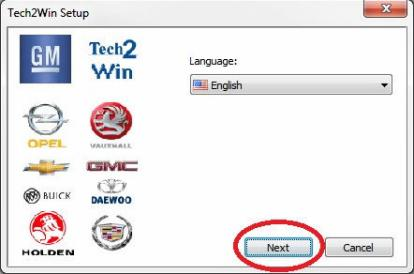
7. Proceed with the setup by clicking “Next”
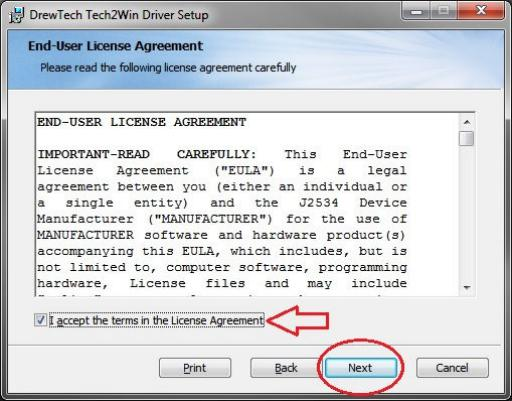
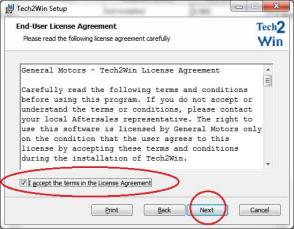
8. Accept the License Agreement, and click next.
9. Follow all the onscreen prompts leaving everything to the default settings.
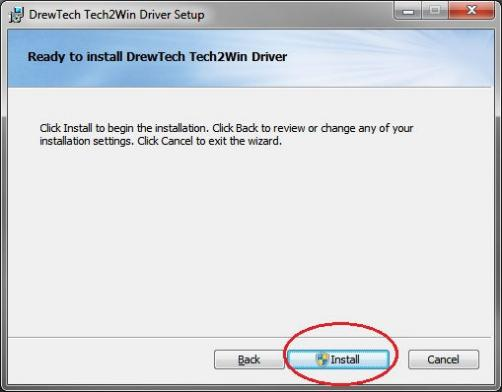
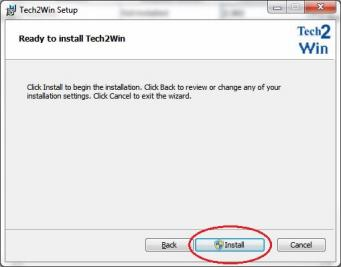
10. Click “Install” to start the installation.
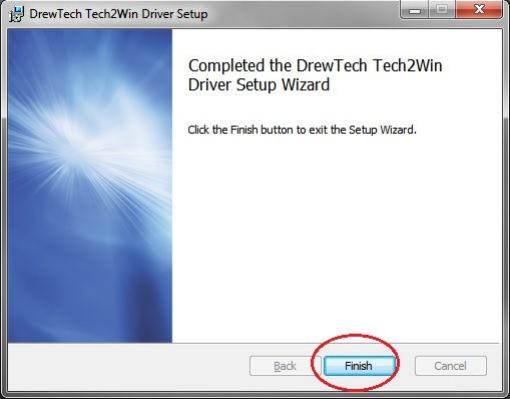
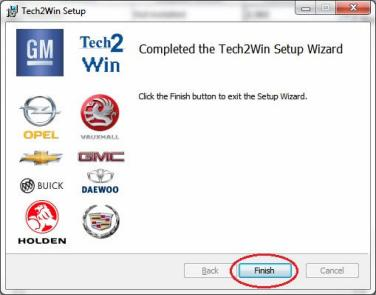
11. Click “Finish” to complete the installation.
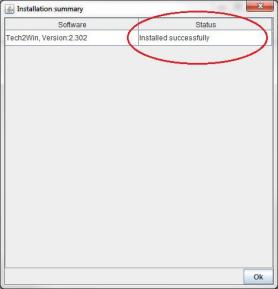
12. The “Installation Summary” window will come up stating that the Install was Successful.
13. Another “Software Download window will come up.
STOP and leave this window as is UNTIL YOU OPEN THE Tech2Win Program.

14. Plug the J2534 device into your laptop and a Vehicle DLC so the tooling is powered up. You should now have 2 Tech2Win icons on you desktop. Open the one that is named “Tech2Win”
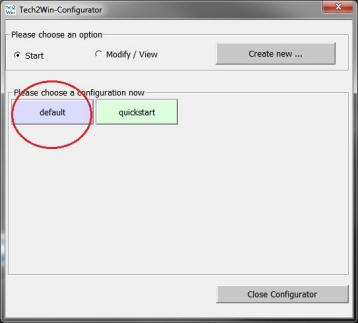
15. Choose the “Default” button.
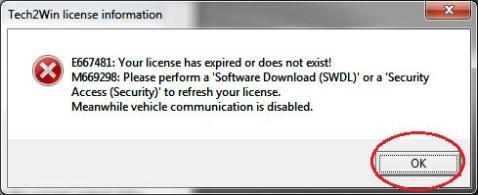
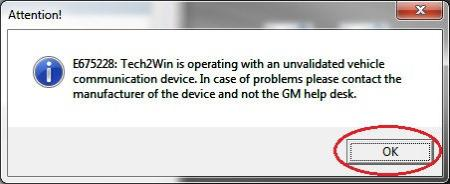
16. The following warning message may come up. DO NOT PANIC, click “Next” and we will update the licensing for Tech2win.
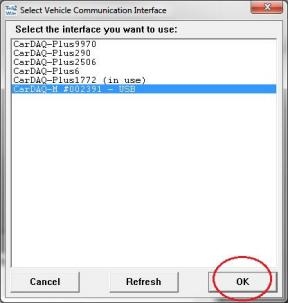
17. Choose your J2534 device in the “Select Vehicle Communication Interface” Window and click ok.
18. The following message will appear. DO NOT PANIC! This is normal; Tech2win is looking for the MDI. Click “OK” to proceed.
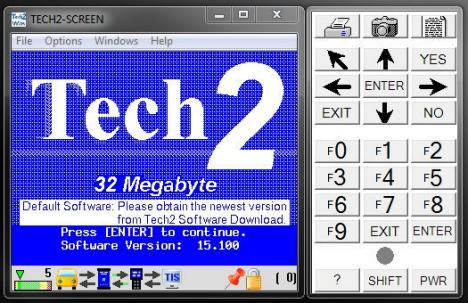
19. Your Tech2Win should now be opened and look like this. Now we need to update the software level to the latest North American version to install your License.
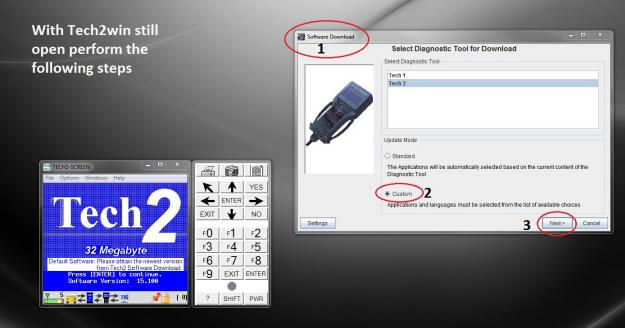
20. Come back to the “Software Download” window LEAVING Tech2Win OPEN. And perform the following steps. Choose “Custom” and hit “Next” .
21. The software will start to download, you will notice the Tech2Win Screen starting to blink and flash, this is normal. Once the level of software has been read, you will be presented with the following screen to choose your application to download. We want to choose the following
• North American Operations
• 33.004-32MB
• English
Double Click “English” to add it to the Right Side window and click “Download”

22. The software will start to download. The Tech2Win screen will again start to flash and blink. This is Normal.
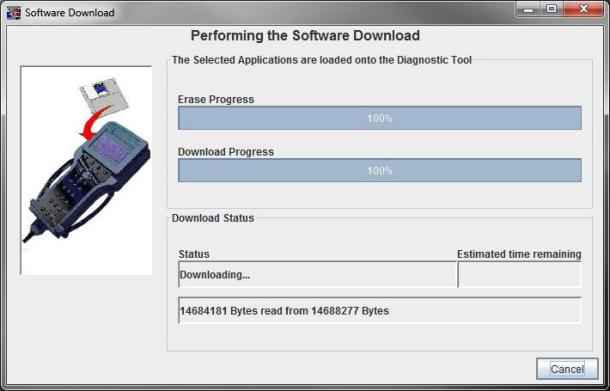
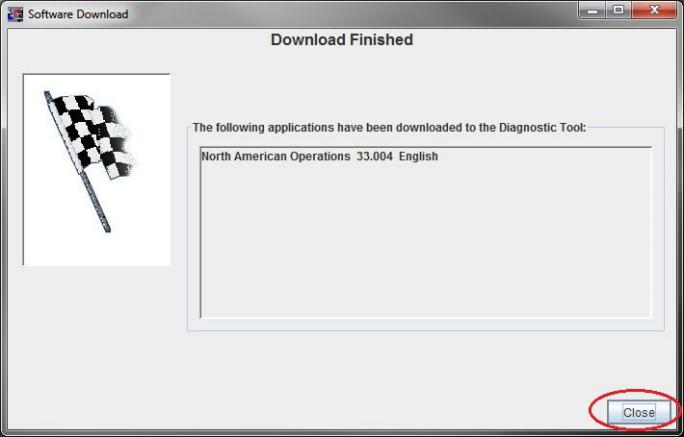
23. When the download has finished you will see the following screen. Click Close.
24. You will now see on your Tech2Win screen with your New Software level and your Subscription Days.
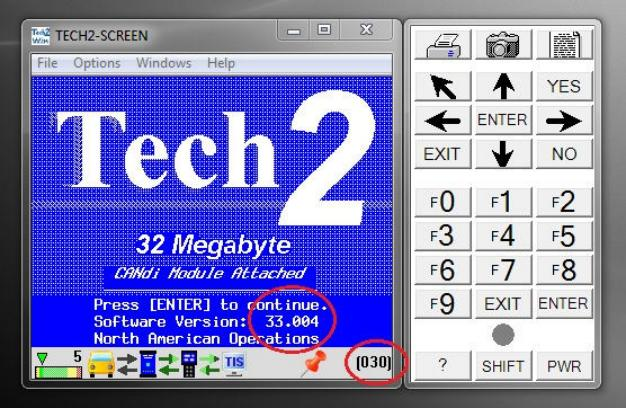
25. You are now ready to use Tech2Win.