Car diagnostic tools information by obd2tool
Welcome to my blog,here some auto diagnostic tools will be displayed. If you want to know more information,you can visit our official website: www.obd2tool.com.Car diagnostic tools information by obd2tool
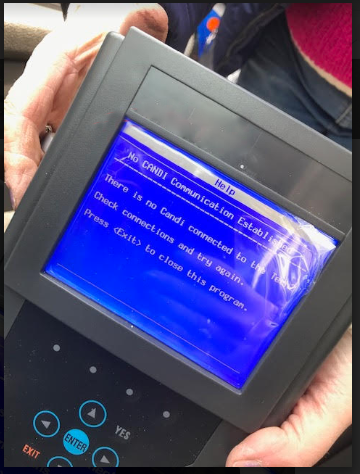
Welcome to my blog,here some auto diagnostic tools will be displayed. If you want to know more information,you can visit our official website: www.obd2tool.com.(Solved)GM TECH2 error “NO CANDI Communication Established”
Here is one issue from our customer:I used GM TECHII to diagnose SAAB, this tool bought from your here,
but it can’s add CIM module and can’t find CANDI module,
have an error message: “NO CANDI Communication Established”.
any ideas?
The solution:
* Confirm you plugged the Candi adapter into the car and the GM Scanner Tech 2 before powering up.
* Disconnect the connector leaving the CANDI adapter going to the OBD port. Plug it back in and ensure it’s real snug, then plug it into the OBD port. I needs to do this every now and then with my clone one. Usually it works after. Suspect the pins aren’t making the best contact.
Tech support from professionals:
* With the car ignition off, connect the GM Tech2 and CANdi module.Power up the Tech.
* You’ll get 12V from the DLC (now it takes me a half hour to find the “DLC means” Data Link Connector “and is what we also call the OBD2 connector, so be prepared to be stumped by TLA’s (Three Letter Acronyms)
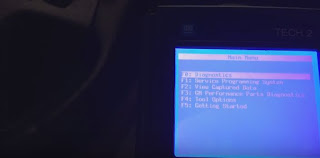
* At the main menu press F3-tool options
* At the tool options screen select F9, CANdi Diagnostics
* There are two tests on the next screen, run them both. The CANDI should talk to your 2004+ car
* Either turn the ignition key of the car, or start it (for a C6 there is not an “on”).
* Select the EXIT button until Tech 2 goes back to the main menu.
* Select F0, Diagnostics.
* Ensure you want to look at the module. You may be choosing body style; You may need the body code (sometimes the third character in the VIN) You may also be asked about certain options, like ZL6. They are on a tag in the glovebox.
* After that you will be able to play with the Tech2 clone.
IMPORTANT: Sometimes, it’s just problem with candi, as when using on other cars without candi, it’s just perfect. So you should have a good candi such as . It’s just better, but still needs to connect a few times. So you can buy another card 148. If not totally solved, rewrite the card to 143 and 136. Both work fine. That is, 148 is no good for candi. Could be corrupted software, or the card problem. These cards coming together with Tech 2 are not good sometimes. You’d better but china knock-offs from a man of his word to trust in.
https://gmscantool.blogspot.com/2021/05/solvedgm-tech2-error-no-candi.html
GM Tech2 Scan Tool pass-through vs go-between
For program a module with Tech 2 Scan Tool, there are two methods. One is pass-through and the other is using the Tech 2 as a go-between.
How to do?Here we go:
1.The pass-through is to use with a laptop in the vehicle and it just
uses the Tech 2 as the connection between. This is the fastest and
easiest way to do it.
That is, the data are directly downloaded from the PC to the ECU in the vehicle.
Although the GM Tech 2 is still necessary in the mode, the data entry
and the download control is done directly at the pc. Altogether, the
method is faster, and it is recommended when a pc with TIS2000 software
is within 3m of a vehicle.
* Connect Tech 2 to the vehicle.
* Connect Tech 2 to the PC switch on Tech 2.
* Start TIS 2000 on the PC.
* Select the icon ‘Service Programming System’ (Fig. 1) on the TIS2000 start page.
* Start TIS 2000 on the PC.
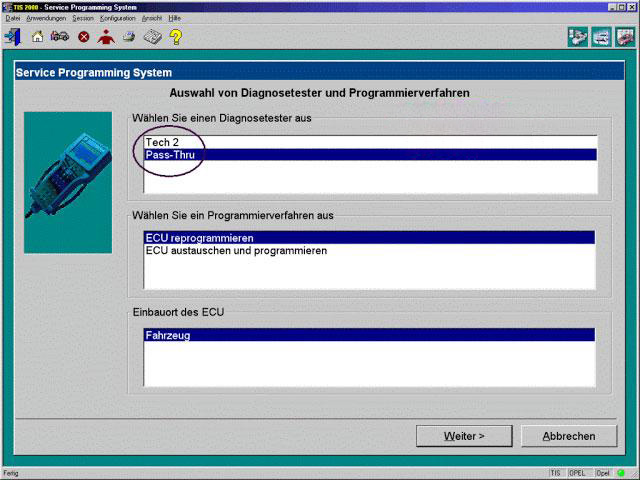
* On the screen ‘Select Diagnostic Tool and Programming Process’ (See picture below) make a selection for
***Pass-Thru mode
***the reprogramming of an ECU that was not exchanged or the replacement/programming of a new ECU
***the ECU location.
Then clock ‘Next’ button.
2.The go-between method is for when you can’t bring the computer into
the vehicle and uses the gm Tech2 scanner as a go-between. You connect
the Tech 2 to the vehicle and download the module information that you
want to program. Then you disconnect, run to the computer running
Tis2000, connect it to the computer and download the programming
information for that module, disconnect again and run back to the
vehicle, connect it and it automatically programs the module. It can
take a long time depending on the module (PCM is the longest).
Have fun in GM Tech II programming!
Good luck!
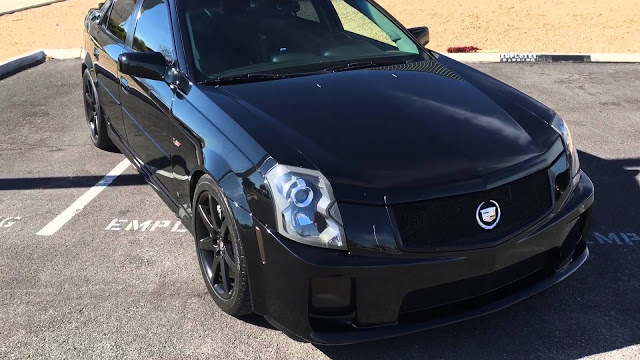
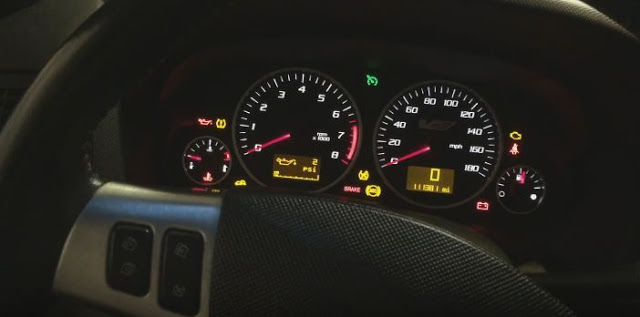
GM Tech2 Program 2007 Cadillac CTS-V Key Fob
This is an instruction on how to program key fob to 2007 Cadillac CTS-V using a Tech 2 Scan Tool.
Model: 2007 Cadillac CTS-V
The process…here you go…
The key to be programmed
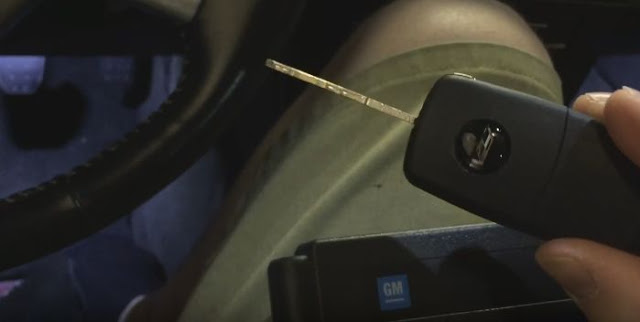
Insert the key and ignition on
The gm tech 2 scan tool power on
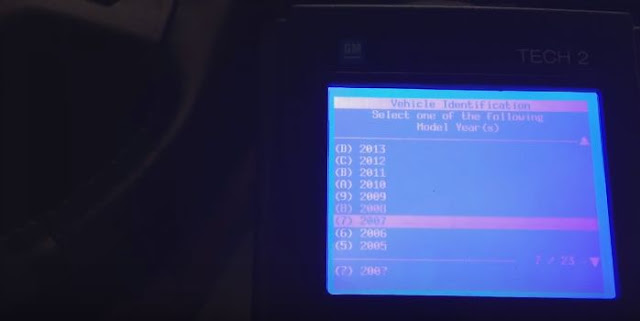
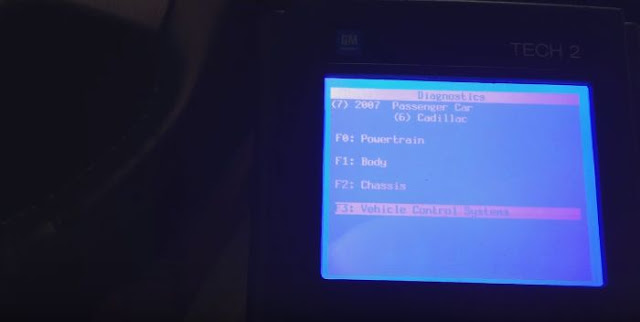
In the main menu, go to Diagnostics
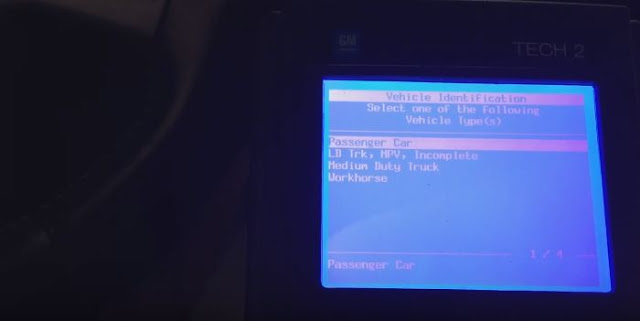
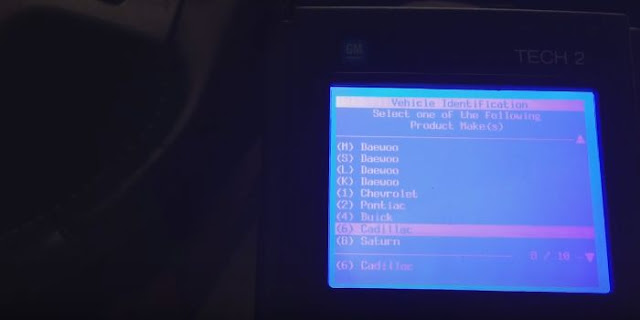
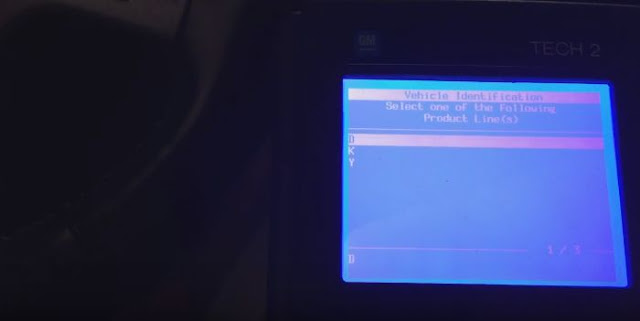
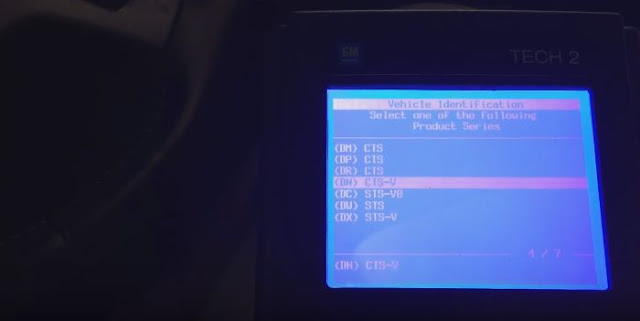
Select model: 2007 Cadillac D (DN) CTS-V passenger car
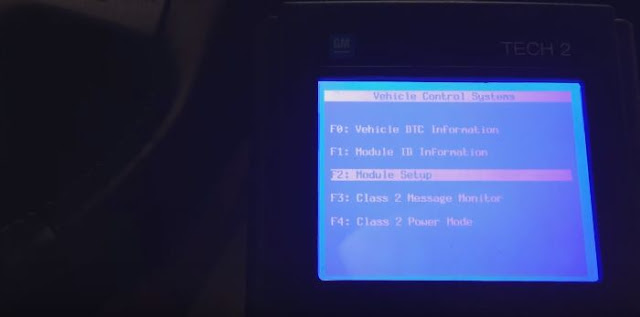
Then go to Vehicle Control Systems

Read vehicle info
Engine type: (U) 6.0L V8 LS2

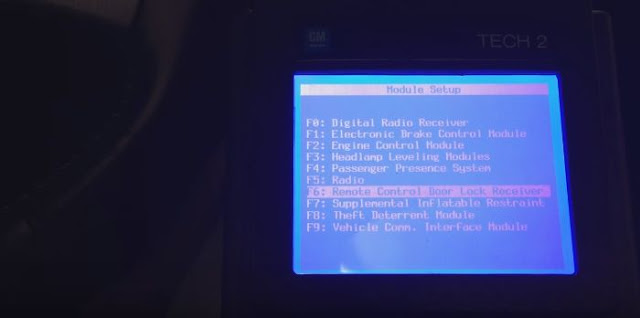
Go to Module Setup
Then Remote control door lock receiver
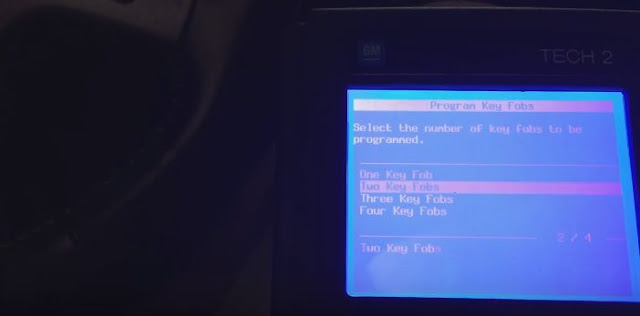
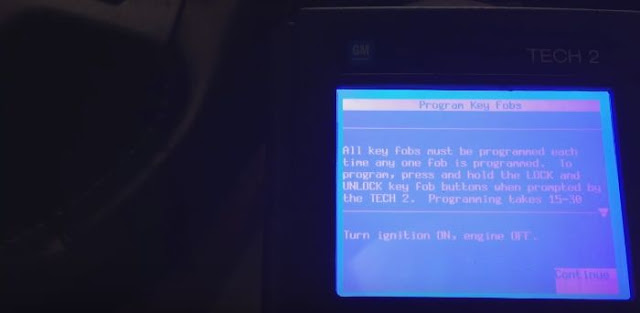
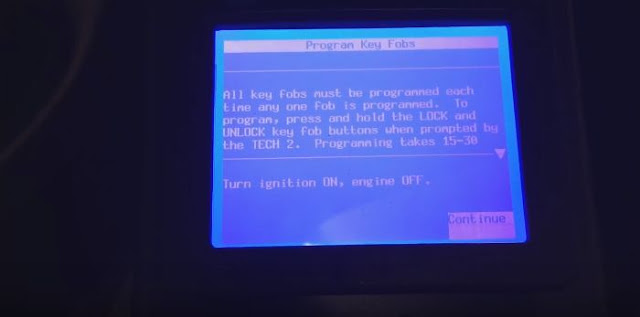
Program key fobs…

Two key fobs to be programmed
Tips of programming key fobs:
All key fobs must be programmed each time any one fob is programmed. To
program,press and hold the LOCK and UNLOCK key fob buttons prompted by
the TECH 2. Programming takes 15-30 minutes….
Programmed complete and test it’s working.
Done!
How to Install GM Tech2 TIS2000 CD
What the function of TIS2000 software CD?
GM Tech 2 is a standalone scan tool mainly used for diagnostic function, but with the additional TIS2000 software dongle, it is possible to carry out ECU programming for GM vehicle models (after 2007).
Operating system:
A laptop with COM port running Windows XP operating system
NOTE: PCs validated to function with all Tech line applications including TIS Service Programming System (SPS). Other laptops may not support SPS or communicate properly with the Tech 2 and will not be supported for hardware communication issues.
Window 64 bit or 32 bit:
64-bit versions of Windows contain backwards compatibility with 32-bit
applications, but not with 16-bit applications. And 32-bit versions of
Windows are backwards compatible with 16-bit applications. The problem
with installing TIS2000 on newer machines is that, while the TIS2000
program itself is 32-bit, the installer and drivers are 16-bit.
Therefore, you are able to install TIS2000 natively on ANY 32-bit
Windows system. This will just work, without having to run anything in
compatibility mode.
Windows 8 32 bit:
However, if you have a 32-bit copy of Windows 8 installed (I don’t wanna
know why you do), running 16-bit applications are disabled by default.
You can enable it by going to Control Panel and clicking on 16-bit
Application Support then clicking Enable.
Windows 7 with XP Virtual PC:
For those of you with genuine copies of Windows 7 Professional,
Enterprise, or Ultimate with a multi-core processor (who doesn’t run
Win7 on a multi-core these days); these versions of Windows 7 allow you
to use Windows Virtual PC, which lets you virtually run Windows XP Pro
without a disc or OS installation. You need to install Windows XP Mode
and Windows Virtual PC in order to use it. Before you can download these
updates, M$ makes you run a little .exe that checks if your OS install
is legitimate. Anyway, after you get that all installed and XP Mode is
booted, you can copy the OP’s cracked TIS2000.zip over to the WinXP
Desktop and follow the README.txt inside to install it. Here is a link
with the cracked TIS2000
https://www.obd2tool.com/goods-1603-OPEL+TIS2000.html
Step-by-step TIS2000 software dongle installation:
1. After loading the TIS2000 installation CD into the computer’s CD drive, the system will automatically execute the installation process: Be careful not to open other software
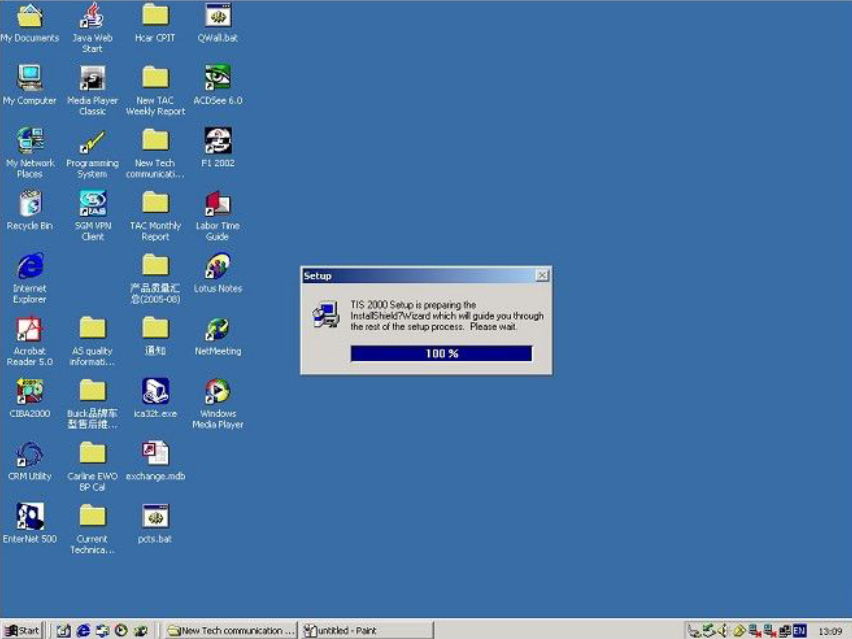
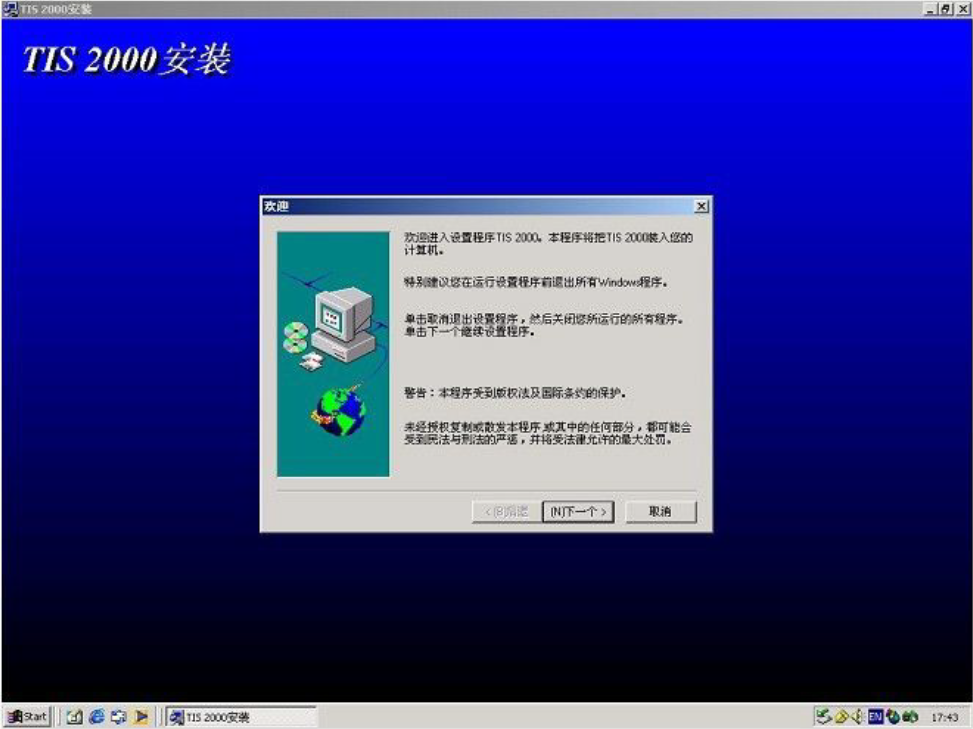
2. Select “Next”;
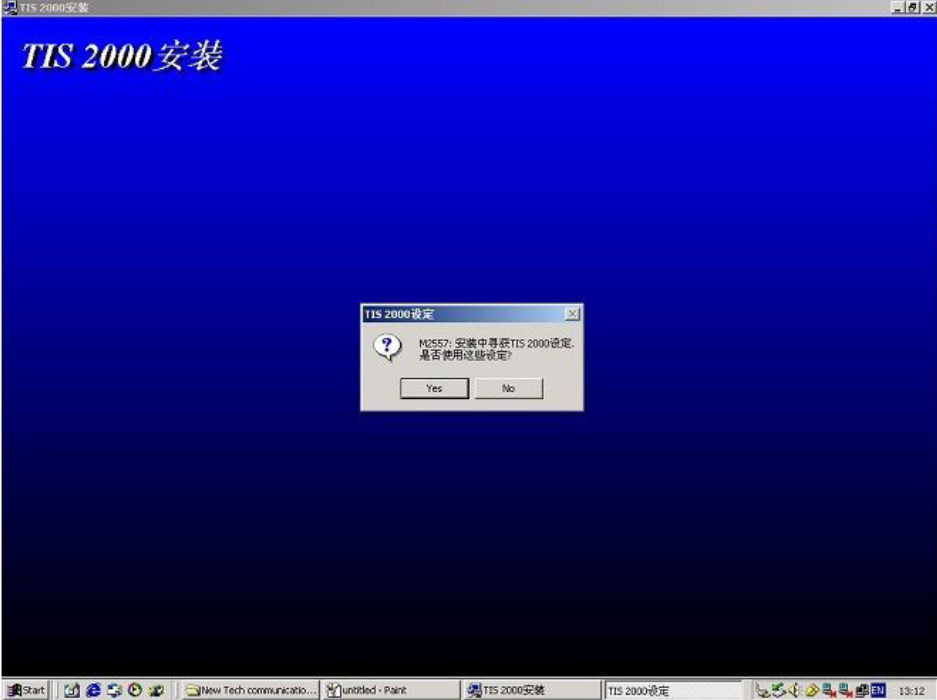
3. Select “Yes”
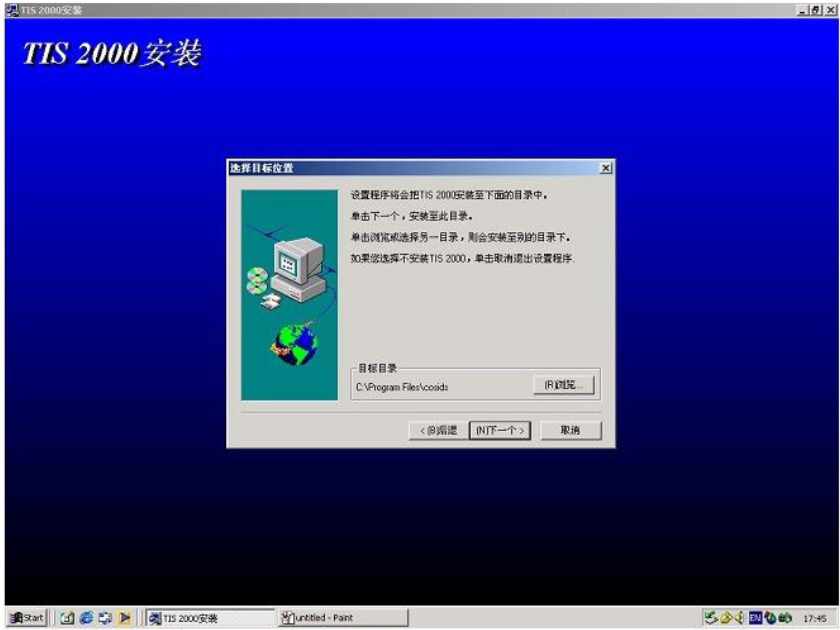
4. Under normal circumstances, the default installation area of TIS 2000 system is the “C drive” of the computer. It is recommended that the service center do not change its installation path, and select “Next” in the following interface;
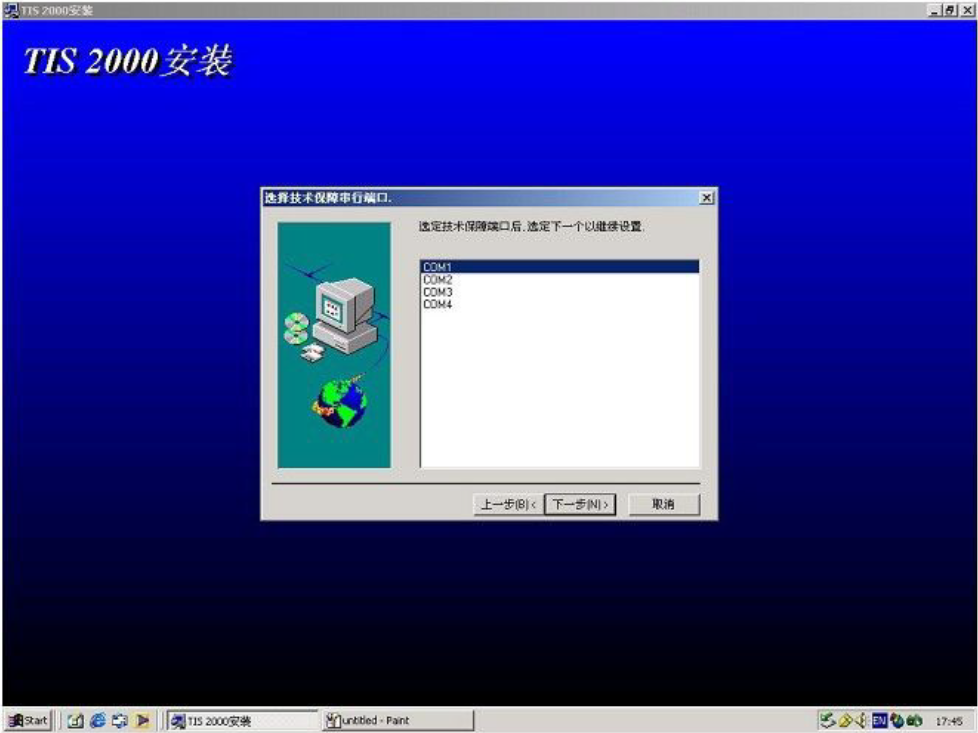
5. Select “COM1″;
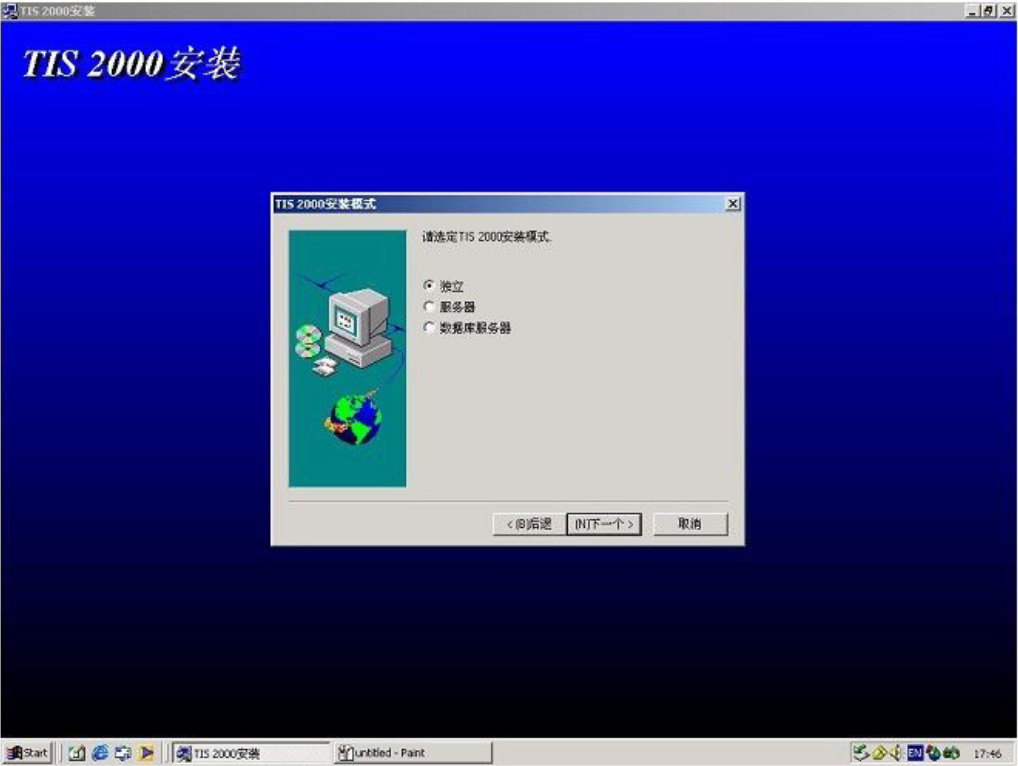
6. Select “Independent”
7. Select “NAO”

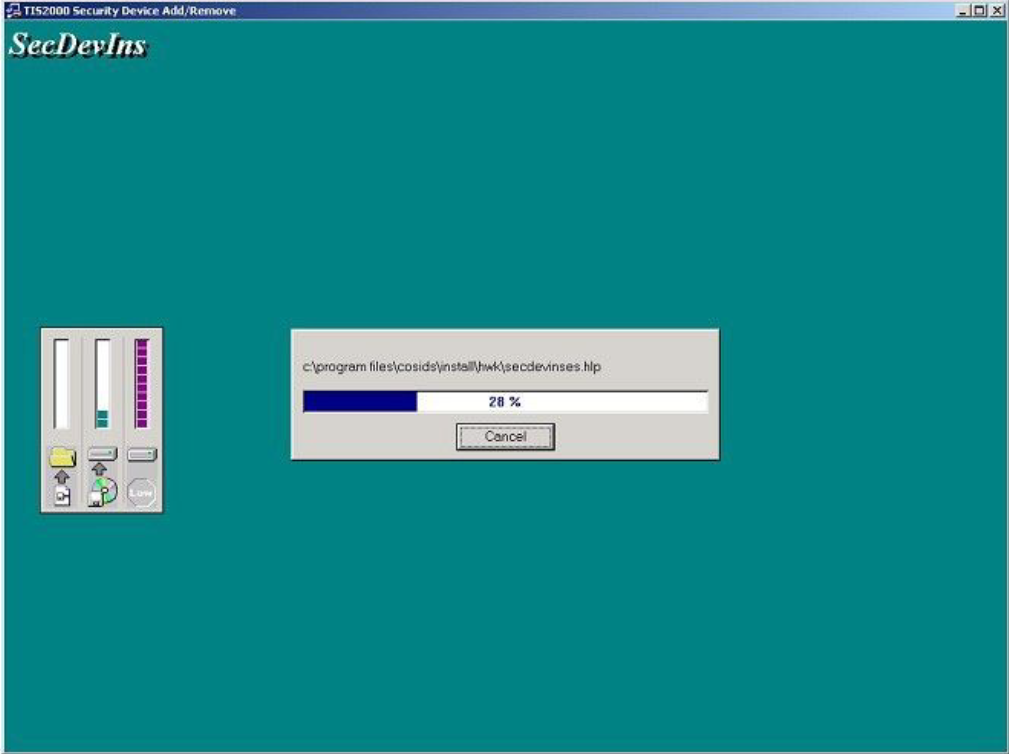
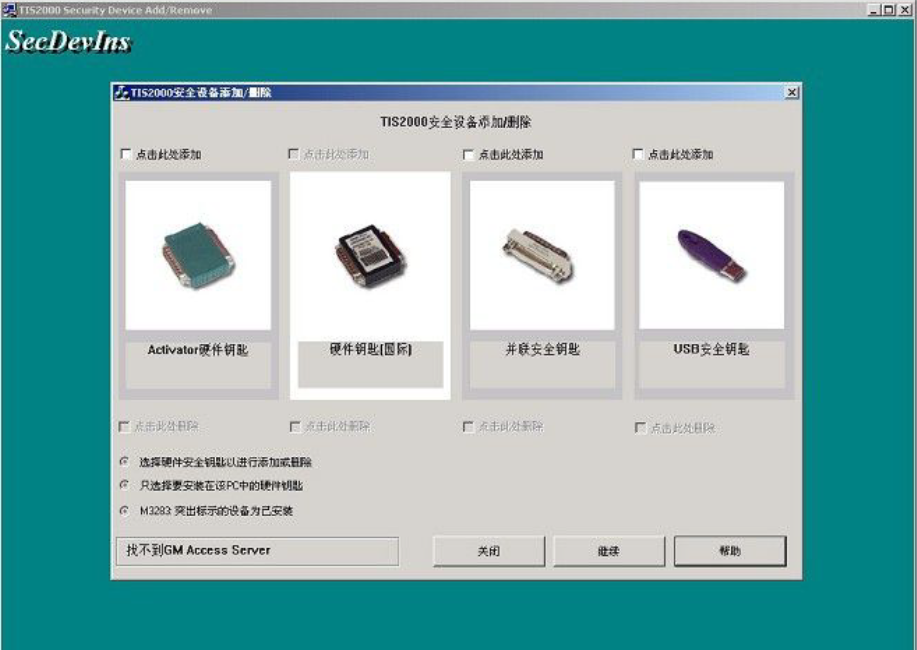
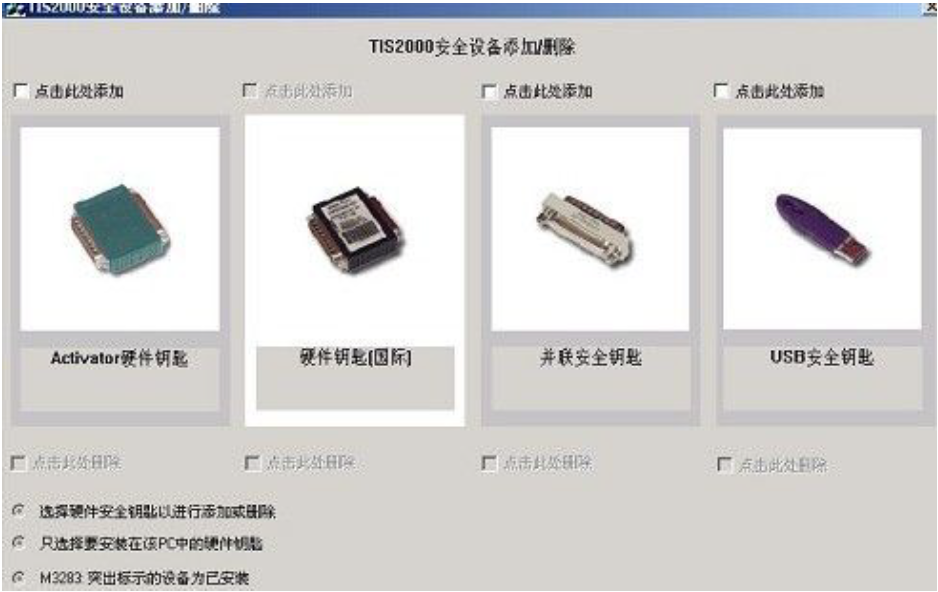
8. Please select the TIS 2000 hardware key according to the actual
situation in the following interface, and you can select it by “click
here to add”;
(1) The green “Activator hardware key” is the hardware key (Hardware Key) used by GM early;
(2) The purple “USB Security Key” is currently a commonly used hardware key

9. The following interface will display the installation process of the system:
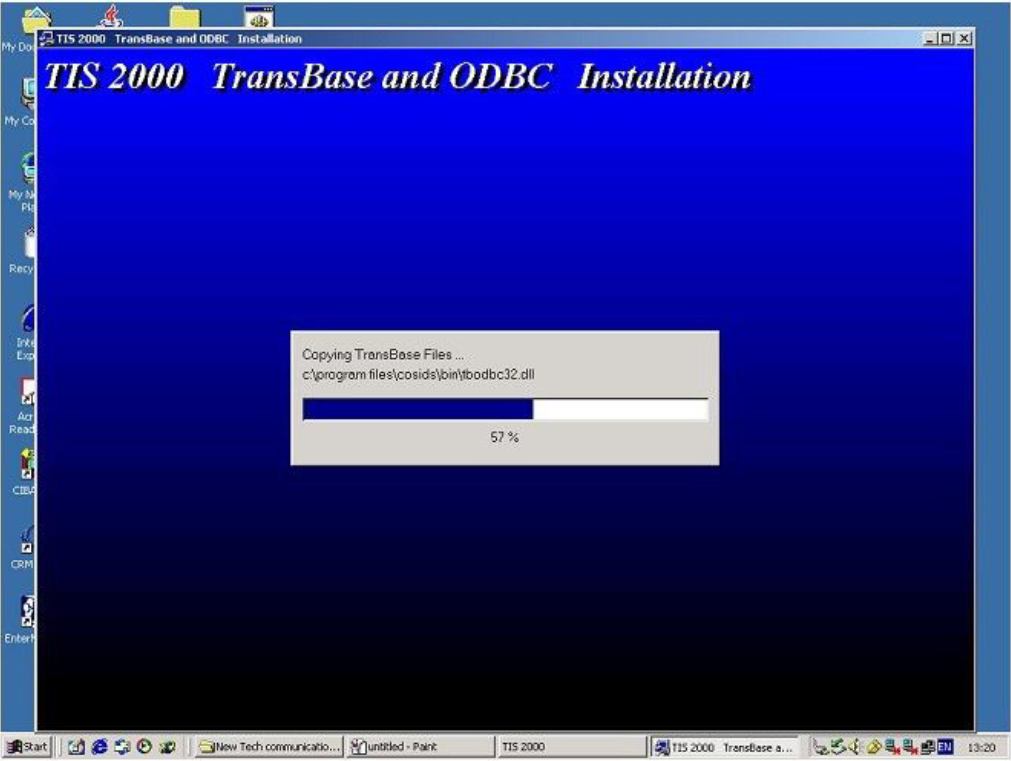
10. The following interface will display the installation process of the system

11.
12. The entire installation process will take more than ten minutes;
at this time, the “TIS 2000″ icon will appear on the desktop of the
computer
Note: Please close the computer’s screen report program before installing the TIS 2000 system;
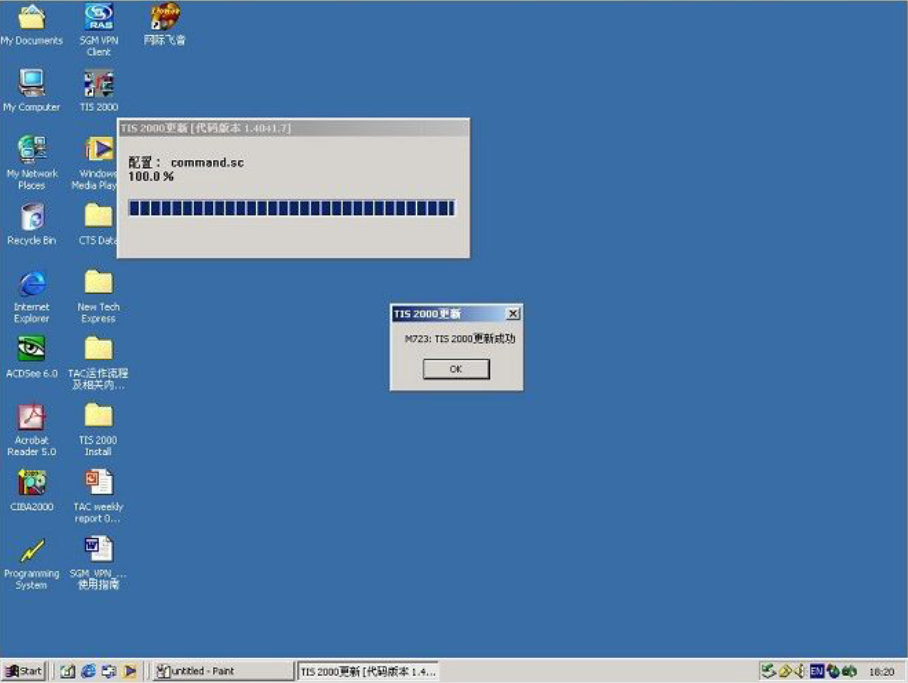
13. If all goes well, the installation user will prompt “M732, TIS 2000 updated successfully” after completing the relevant procedures on the TIS 2000 installation CD
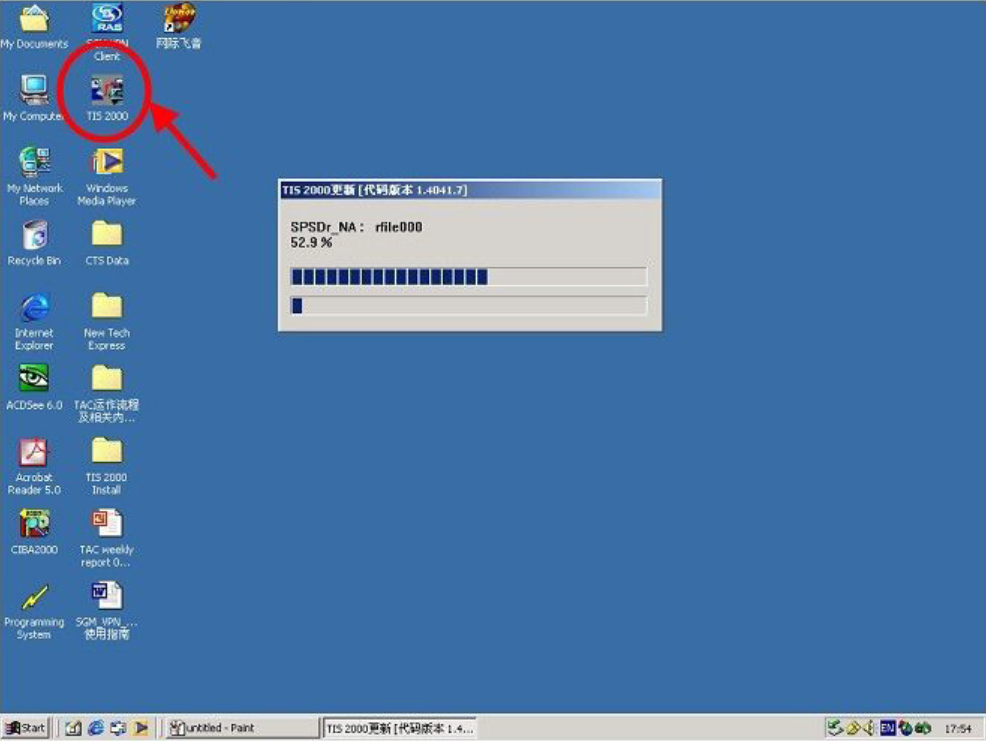
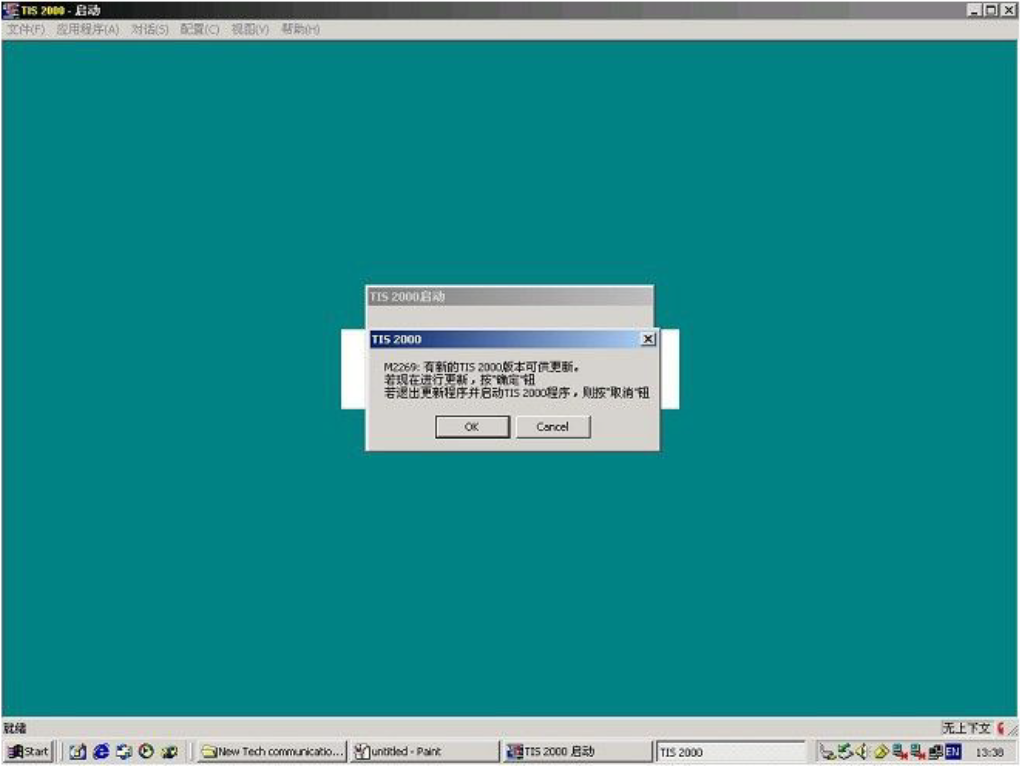
14. After removing the “TIS 2000″ installation CD, insert the “TIS 2000″ data CD to perform data update
Note: After inserting the “TIS 2000″ data CD, wait for the CD drive to
run for 10 seconds or stop running, and then click the “TIS 2000″ icon
on the computer desktop
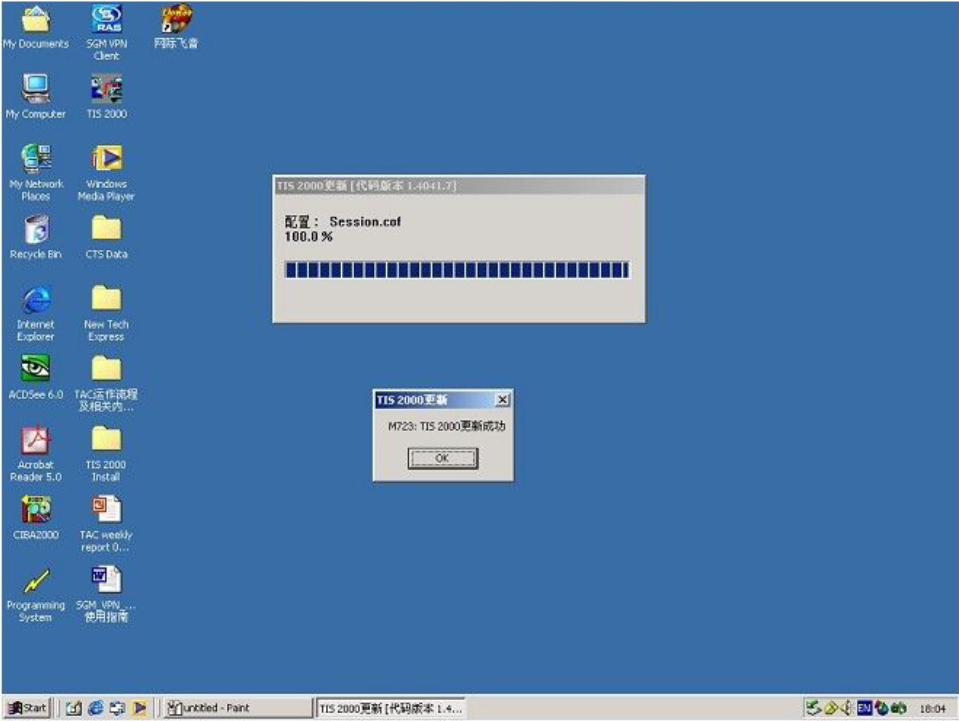
15. The system will display a dialog box after searching for updated data, click “OK” to complete the operation
16. If all goes well, the installation user will prompt “M732, TIS 2000 updated successfully” after completing the relevant procedures on the TIS 2000 installation CD
At this point, the TIS 2000 system has completed all installation operations and can perform various functions.
17 Please select the TIS 2000 hardware key according to the actual
situation in the following interface, and you can select it through
“click here to add”;
(1) The green “Activator hardware key” is the hardware key (Hardware Key) used by GM early;
(2) The purple “USB Security Key” is a commonly used hardware key;
18.
GM Tech2 Clone Purchased (With Quick Guide) Good Test
I have my GM Corvette C6, 07 2500 GMC, 09 Cobalt that GM Tech2 clone will work on. Have another scan tool for our foreign cars.
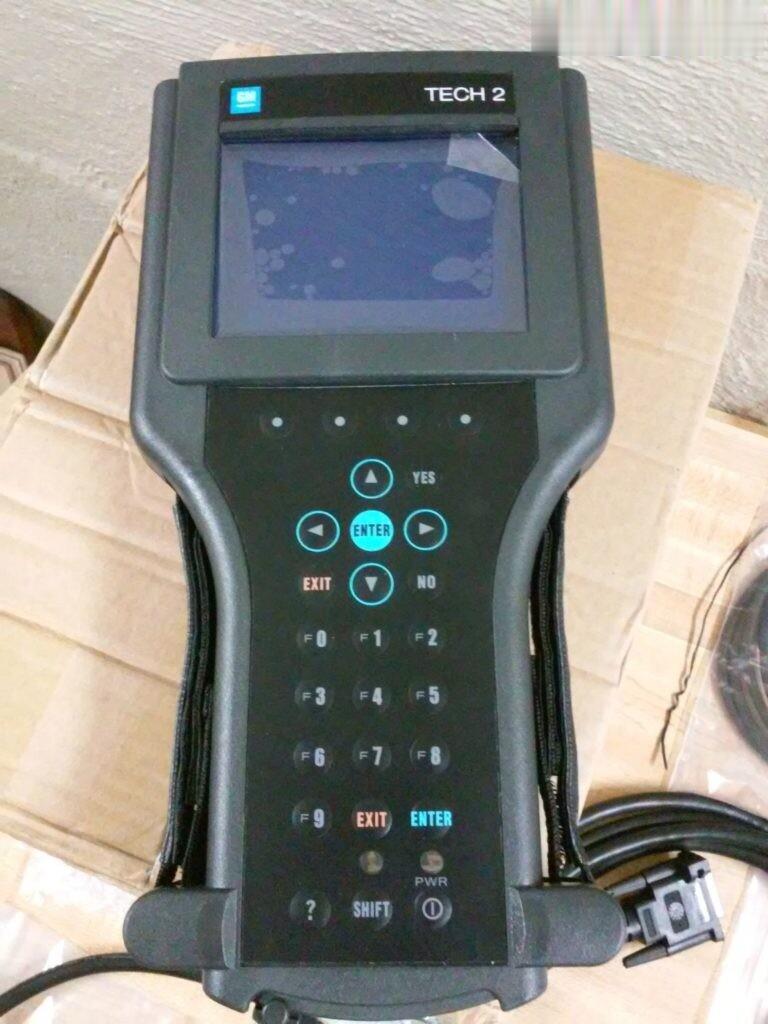
Surprises were, this thing is bigger than I thought. It’s a foot tall by 6″ wide. It needs the velcro straps it comes with.
Shipping was a shocker. China to Cincinnati in two days. Ordered it
Sunday evening, they processed it quickly, shipped it Monday morning and
it was sitting on my front porch today, Wednesday by noon.
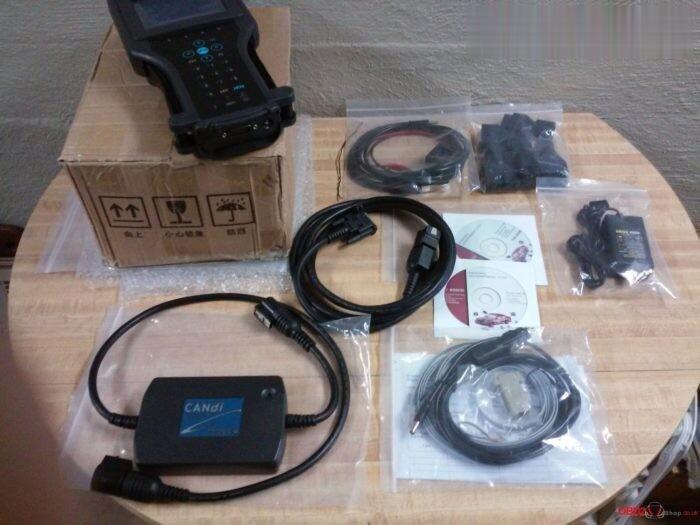
I bought with case pack. 329usd total, free ship to USA by DHL.
Tested it on my GMC truck and all seems fine. Connector for older OBD1 as well for 91-95,6 too. Latest software for GM 33.004.
The memory card works in either slot, I tried both although the disc says to install in upper slot. It’s a tight fight because the spring loaded door doesn’t quite open enough for the card to slide in easily. I got it in with a touch of prying. Not a big deal.
Entire purchase process was easy with no problems at all. It is a great scan tool kit for not much money. Time will tell how it holds up long term but from other members reports they are getting years out of them.
The unit performs flawlessly. I’m convinced this is manufactured by the same manufacturer who built the official units for GM (Vetronix), or at least built based on official plans. It’s not a “clone” per se, but the actual product un-branded (you get official stickers in a bag if you need those kinds of things. I threw them away). One of the most likely opinions I’ve read is that these are the manufacturer’s old stock getting dumped since GM is not buying these anymore.
Tried all self-tests, including CANdi (important: CANdi only works when connected to the car). I went through the DTCs of all the systems, logged some ABS sensors, actuated some solenoids. Everything went smoothly.
Thanks to @ J.Moore & steel_3d (corvetteforum.com members) for their buying experiences good. He got this from Ali.
While a lot of users prefer chinacardiags.com, take this user’s feedback for example: They charge more than the sellers on AliExpress but I was able to use PayPal and had no issues with payment or shipping (got the package a week after I ordered it). I certainly wouldn’t want to send copies of my driver’s license/ID to buy something online.
Attach GM Scanner Clone Tech 2 quick start guide for reference:
Here Clone Tech 2 user manual, personally the manual is hard to navigate and pretty badly organized. Should’ve just connected the candi with obd2 and gotten to work. At least I should’ve jumped to the end of the manual for CANdi setup instructions. So I’ll give some tips here to save some time for first time users.
Quick start guide a la Steve:
-Unpack unit. There is a bunch of junk you don’t need.
-Insert PCMCIA card into slot under flap at top of unit. Only one slot is accessible. The card will go in both ways, but will only seat fully one way. If it doesn’t seat all the way, don’t force it, try the other way. Eject with the button to the right of the card socket.
-Connect main cable to Tech 2. Make sure lock lever is all the way left, so it doesn’t get in the way of the cable connector.
-Connect CANdi module to the main cable. This is the cable with the large rectangular box module on it. The connectors can be hard to connect at first. Don’t be afraid to use some force and some wiggling until the metal tab clicks into the hole.
-Connect OBD2 plug to CANdi module.
-Connect OBD2 to vehicle.
-You generally don’t need any power adapter, as the unit is powered through the OBD2 port. If you have grounding issues, you can try the lighter adapter. I had no issues.
-Turn ignition to ACC or ON (some modules only work when ON, some maybe only with engine running).
-Turn on the Tech 2.
-Unit goes through power on self test.
-CANdi module should have flashing LED to signify it’s working. If it’s off or lit solid when connected to the car with Tech 2 powered on, you have a problem.
-Press Enter to get into the menus.
-Go to diagnostics.
-Enter year and make of your car when prompted. Model is “Y” for Corvette. Might also ask you for transmission or other things depending on the module you’re trying to diagnose. (It’s really dumb that the unit doesn’t have an auto-detect function for this based on ECU VIN.)
-Going through the rest of the menus is self explanatory.
-If you get stuck at any point, read the CANdi section at the end of the manual. If you’re still stuck, read the whole manual.
Thanks to Laurance’s collection.