Car diagnostic tools information by obd2tool
Welcome to my blog,here some auto diagnostic tools will be displayed. If you want to know more information,you can visit our official website: www.obd2tool.com.Car diagnostic tools information by obd2tool
Welcome to my blog,here some auto diagnostic tools will be displayed. If you want to know more information,you can visit our official website: www.obd2tool.com.How to Solve OBD2 Port Not Communicating with Tech 2 Scanner
This post collected the problem “OBD2 Port Not Communicating with Vetronix Tech 2 Scanner” from the user and offered the way to deal with. Hope it may help you when you meet the same
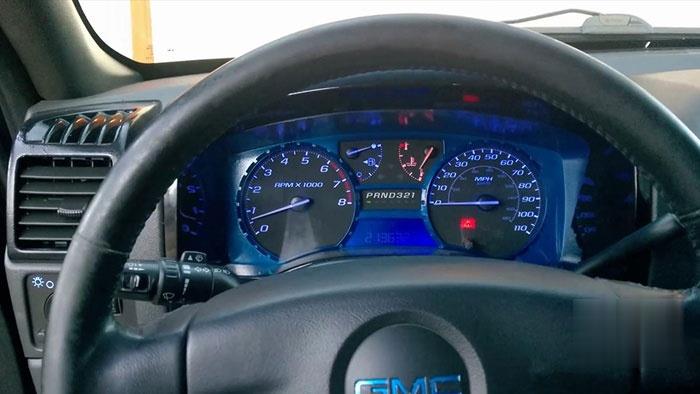
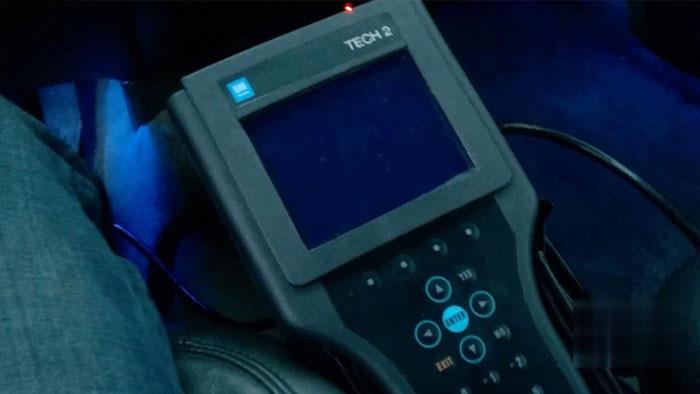
I recently purchased a clone GM Tech2 scanner to access the diagnostics in my 2006 Hummer H2. The scanner is operational and can scan all protocols but can not link to any of them. There are no driveability issues. I performed troubleshooting by doing the following:
Verified that the Power Control Module (PCM) and Data Link Connector (DLC) fuses were okay.
Tested DLC pins 4 (chassis ground) and 5 (PCM ground). The voltage was less than 0.1 which led me to believe low resistance.
Performed a volt reference check on DLC pin 2 (serial data) to determine
if it was 5 volts and actual voltage was between 1 and 2.
Tested DLC pins 4 and 16 (battery) and the voltage was 12.58.
Checked the purple, black, black/white and orange wires on the back of
the DLC for integrity and did not find any issues with fraying or
looseness.
I am not sure what to think, whether the issue is with the PCM or wiring. I am trying to locate a wiring diagram for the PCM and DLC which will give me a better understanding of the wire mapping. I know the PCM has two connectors and I probably should see if there is continuity in the purple wire (Pin 2) and its termination in one or the other connector.
Solution:
“DLC” is the Datalink connector (the connector that pushes into the vehicle) so “DLC-2″ is Data Link Connector pin 2.
“D” is the 26-Way D-Type Connector that screws into your Tech2, “D-4″ is 26-Way D-Type pin 4.
So if you look at the ends of the cable connectors, the pins are numbered as per my sketch.
So detach your TECH2’s cable and check the following:
DLC-2 connects to D-4
DLC-4 connects to both D-8 and D-9
DLC-5 connects to D-2
DLC-16 connects to both D-17 and D-18
These 4 wires are the only important ones, the rest you can ignore, infact DLC-2 to D-4 is the key one, I suspect everything else is OK.
Your TECH2 should have come with a 12V Power Supply that plugs-in just to the right of the 26-Way D-Type, its a standard 12V jack. If you don’t have a PSU one from a PC monitor, just check its 12V.
Connect scope probe tip to DLC-2 and ground clip to either DLC-4 or DLC-5, set the scope to DC, 1V/Division and 200uS/Division. If you can set the scope to “free run” or “continuous” just to prove there is activity then set it to “DC Triggered” with a trigger level of around +1V to +2V. On the TECH2 select the function I mentioned before (even if your vehicle doesn’t have AS) and you should see a signal the moment you hit the key.
If the signal looks similar to the one I posted, then its safe to assume your TECH2 is working OK.
When you say “The OBD2 Scanner
is operational and can scan all protocols but cannot link to any of
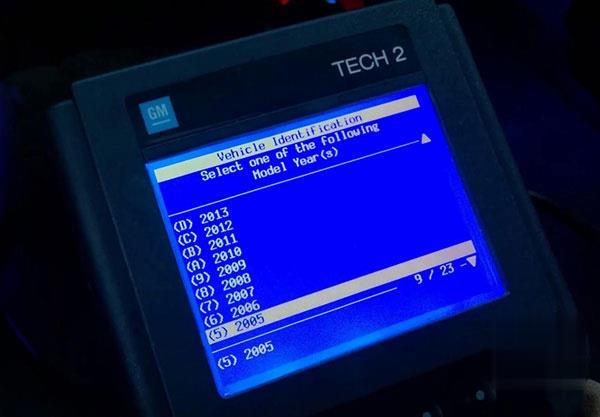
them” do you get a communications error? If so make sure you have
selected the correct “Model Year” not the year the truck was 1st bought
e.g. my model year is 2005 but was bought in 2006. I noticed that I get
the same issue when the wrong year is selected.
loading..
2002 GMC Sierra Scan Tool or Diagnostic Tool you use – pros and cons
Car model and year: 2002 GMC Sierra 1500
Purpose: to pull codes
Scan Tool or Diagnostic Tool to use – pros and cons
1. GM Tech2 pros and cons
To do work on gm stuff I have knock off Tech2. I like it.
2. My OBD Link MX+ or Konnwei Bluetooth devices with the usual Dash Command, Torque Pro, OBD Link and Motor Data apps work for me for troubleshooting.
For us LS engine swap people that don’t like to pay the HP Tuners folks money to license a new operating system, there are now free alternatives. “Tuner Pro RT” software allows the free editing of a General Motors PCM operating system to get it to work in a swapped vehicle. Then we use “LS Droid” software with my MX+ device to actually write the changed Tuner Pro operating system to the PCM which completely avoids spending money on HP Tuners.
3.
For a long time I have gotten by with a simple scanner. These days with
the Bluetooth devices and the torque app…that is even easier for basic
stuff. Back in 2011 I picked up an Innova 3150 which had the ability to
read ABS and SRS system faults. It was about $150 then. Current ad for
this older tool shows $220…not sure why xxxx
I have considered a clone Tech2 and or the MDI device I have seen
mentioned. My main concern other than the $300 cost…which is not bad for
what it does….was that I did not want to somehow brick my ECU or any
other module either due to the clone tool or my lack of knowledge of
using one of these more sophisticated diagnostic tools.
I decided to get one that would perform the ABS bleed, mainly because I like to flush the brake fluid ever few years. What I ran across for the least $$ to fit what I was looking for is the Foxwell NT630 Plus. Listing made an offer to another listing but they would not budge. (why do they show make an offer if they only will drop a dollar?!). The one Currently my plan is to sell the Innova locally and try and recoup most of the cost of the new tool.
4. My 2001 GMC truck has a problem with the red brake warning light and the yellow ABS lights randomly coming on at the same time. I wanted to find out what code was being set. I quickly learned the local auto parts stores couldn’t read ABS codes. I also learned that the repair shops in my area charged $35-$59 just to use their scanner to check for ABS codes. I thought that was too much for a 5 minute scan so I decided to buy a scan tool that would read ABS and SRS codes as well as OBDII codes. Over the course of several weeks I have purchased three scan tools and returned each one of them for a refund for reasons I will describe below What I wanted a scan tool to do.
I initially set out to find a scan tool that would read ABS, SRS and OBDII codes on all my vehicles, a 1999 S10 Blazer, a 2001 GMC Sierra, a 2012 Equinox and my daughters. 2009 Camry. I wanted to spend no more than $125. I know that sounds like a lot to hope for but I figured I might be able to do it.
Then I confirmed Tech2 is able to do ABS Brake Automated Bleed & Pressure Bleed for Chevy & GMC. Just google ” GMC Sierra 2002 Tech2″ and you will see a Youtube video on how to do.
5.
Question: Will this gm tech2 work with my 2012 GMC Sierra 1500. Will I
be able to calibrate the BPP sensor out of the box? Thanks!
Reply:
If you scroll down further it lists it as going to 2013. I bought one
like this and it has been great to diag and repair everything. Too bad
it doesn’t work on my camaro(MDI).
Could be, but there was an updated 32MB card that supported up to ’13.
Or get a Jbox or an MDI2 as it can do anything a tech 2 can and much more. I can go into much more detail if needed but don’t buy a tech 2 it’s outdated and obsolete as of 2013 at best. I have 4 scan tools ranging from 300-5000$ and you can easily spend 500 or less and do anything I can.
It’s called the open port 2.0. It is compatible with GM’s programming
website called SPS. That tells me it’s a go for the tech 2 win program
which is a laptop version of the handheld tech 2. It also would work
with GDS2 which is the current diag tool via laptop for GM. Then you can
lease the use of the software as needed.
https://www.acdelcotds.com/acdelco/action/subscribehome This is The site
to lease the programs. It may not make since for some people but if you
are devoted to “doing it yourself” it’s the only way, end of story. You
will use other software to diag the problem and then slide over to gm’s
stuff if needed but this will give you the widest range of
functionality.
How-to’s of GM Tech2 Crankshaft Position Variation Learn
All right, today we’re going to be going through a crankshaft position relearn sequence on a Chevy Colorado or a GMC Canyon. My trucks of 2005 GMC Canyon with 3.5 liter, so the first thing we’re going to do today is to have our GM Tech 2 Scan Tool to setup here, we’re going to plug it into the DC port down here and we’re going to have the obd2 port hooked up down here. Once we have that all hooked up, first thing we’re gonna do is we wanna start our truck and you want to have it warmed up. You can see I’m about probably at 160 right now I think the bare minimum is about 155, so I’m just above the line of what we need to be.


So we’re going to start it and then once we do that we will hit the power button down in the GM Tech2 scanner. It will run through its initialization sequence here.

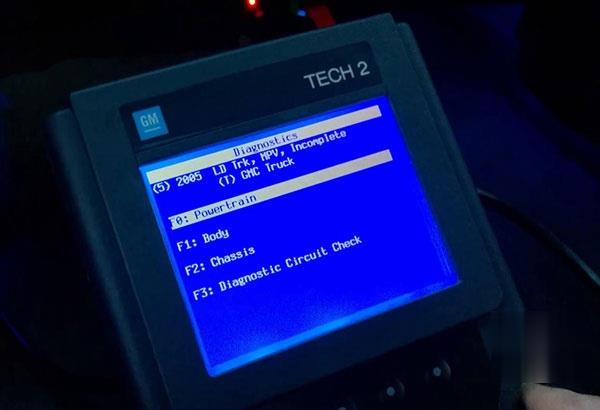
Go to “Diagnostics”.

Select my year “2005”.
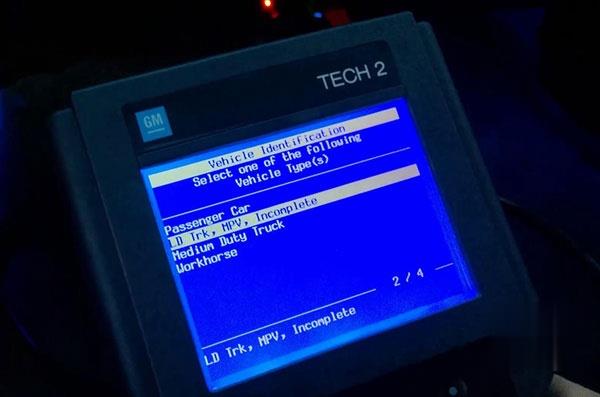
Select “LD Trk, MPV, Incomplete”.
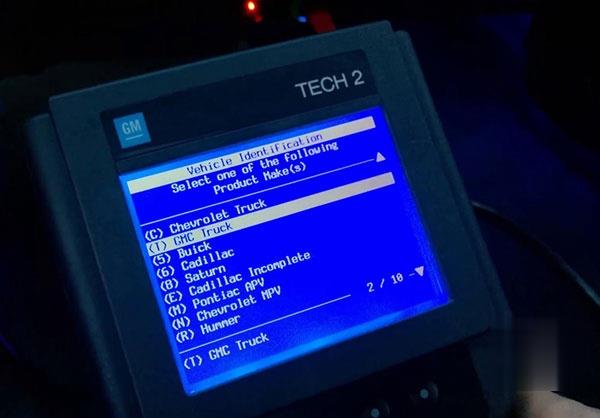
Enter “GMC Truck”.
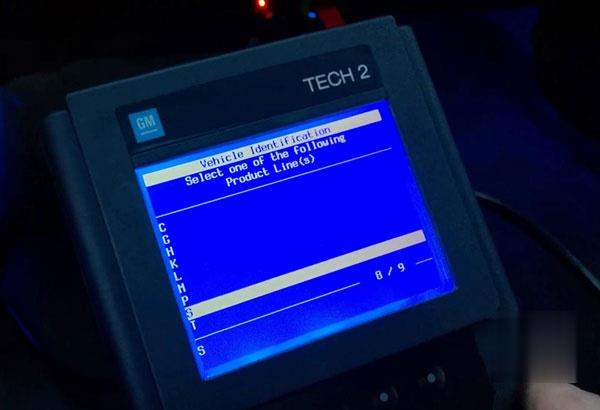
And the product line code for our trucks is a S. So if you have a Chevy Colorados can be the same thing, it’s going to be Chevy truck and then S.
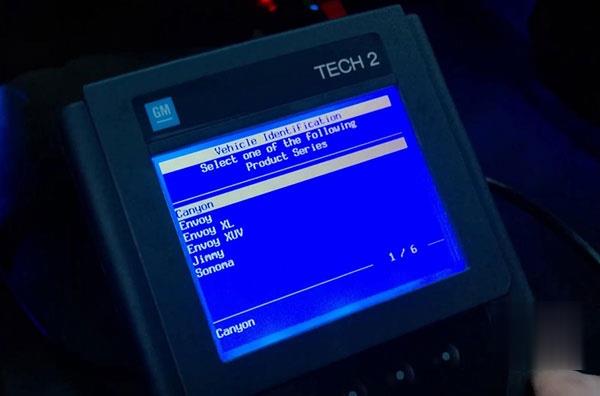
Canyon.
Going to “Powertrain”.
3.5L L5 L52.
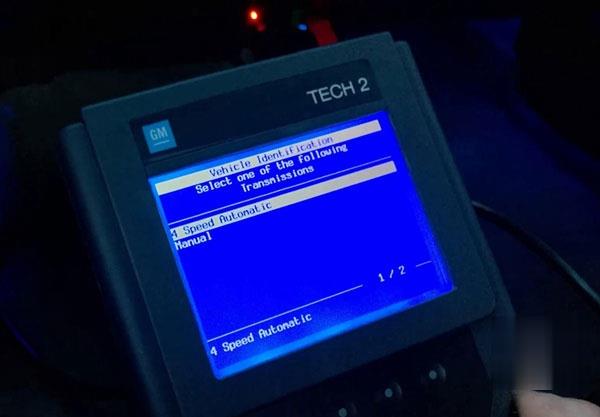
Speed automatic.

Special functions (We wanna go).

Crankshaft Pos. Variation Learn.
Continue.

Continue.
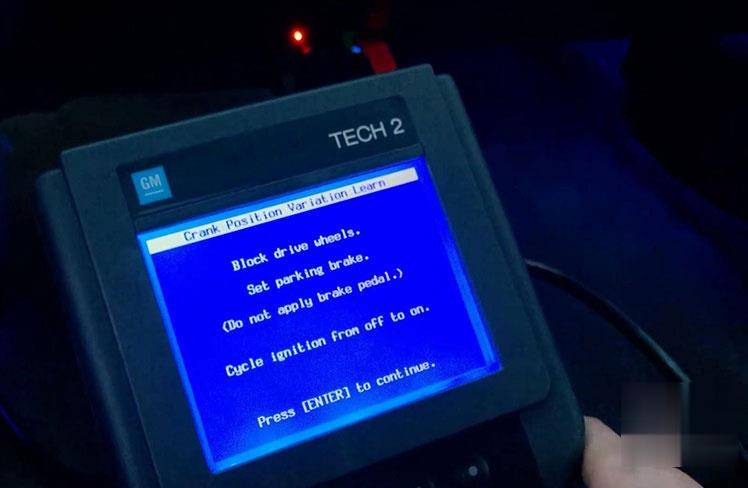
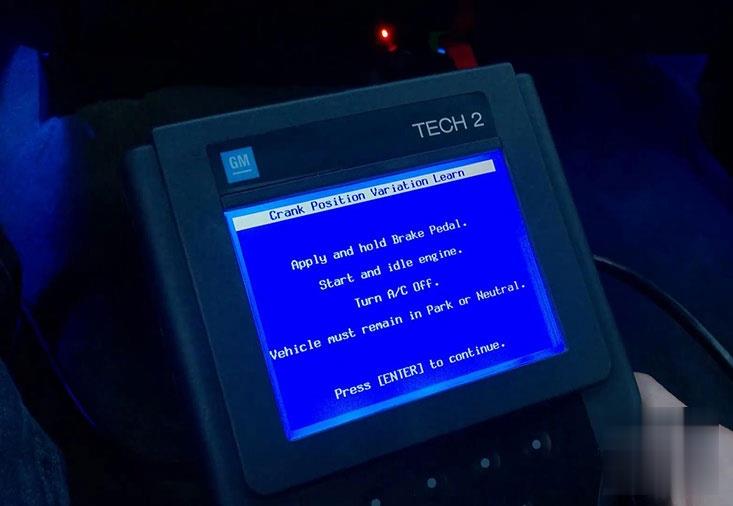
Make sure your parking brake set, it says “Do not apply brake pedal”. We’re going to click “Enter”. It says apply and hold brake pedal so I’m going to apply the brake pedal down there, turn your AC off and vehicle must remain in park or Neutral. Press Enter to continue.
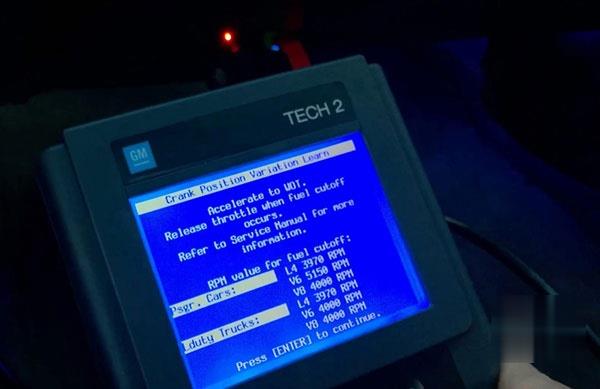
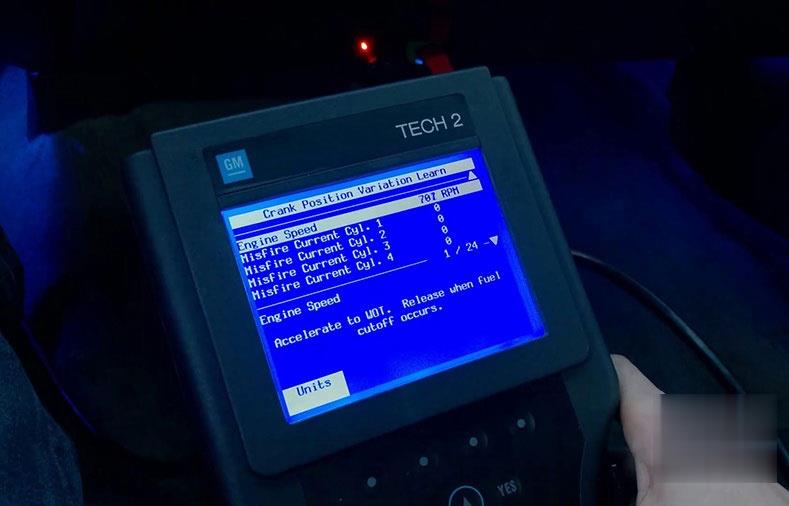
It says “Accelerate to WOT. Release when fuel cutoff occurs.
And try to get both screens here at the same time. You see it already shut me down.

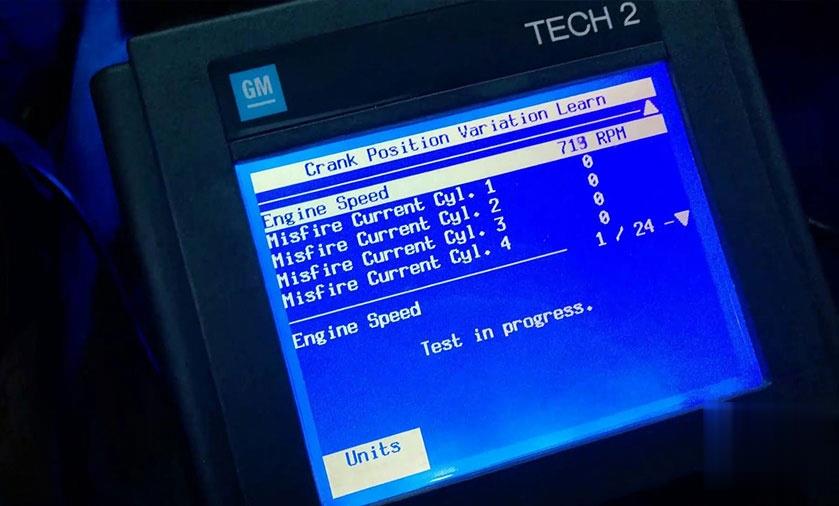
Test in progress.
Learn status: learned this ignition.
Perfect, it’s exactly what we want.
Press “Exit”.

We wanna go “Diagnostic trouble codes (DTC).
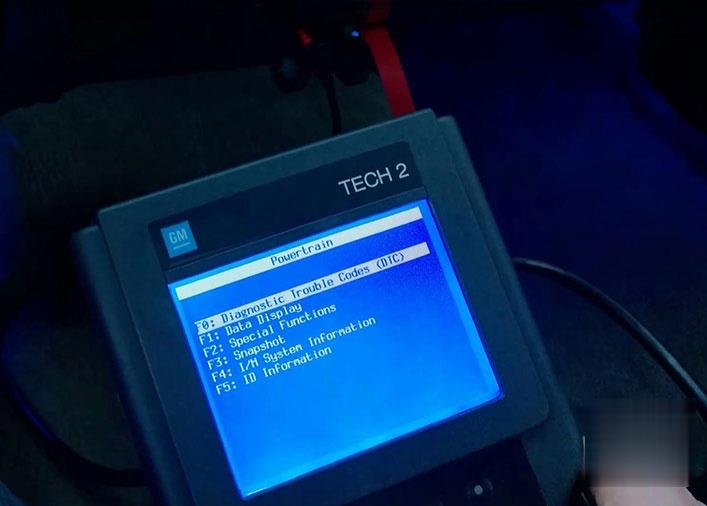
DTC information.
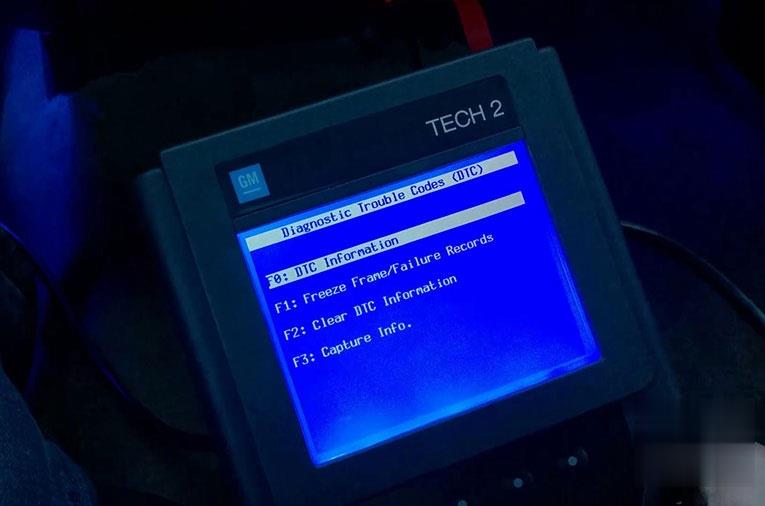
DTC Info.

No diagnostic trouble codes.

Back to “Diagnostic test status”.

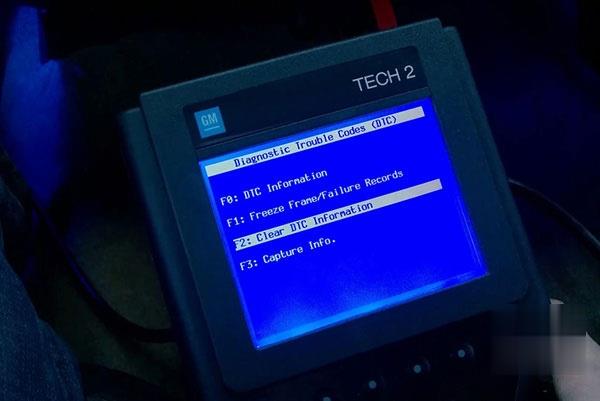
Clear DTC information.
Yes to continue.
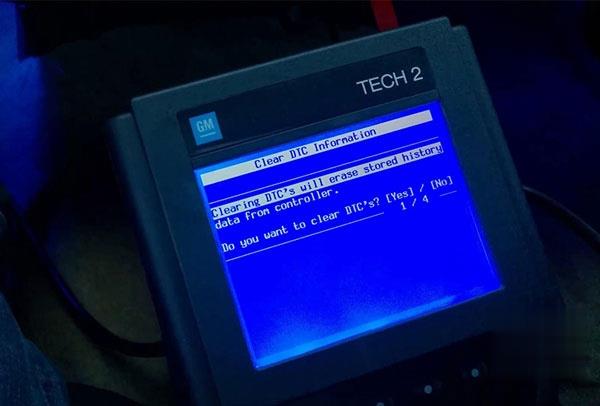
Go back to “DTC info” and no diagnostic trouble codes.
Conclusion:
You just fix the problem, you’re done.
And that’s how you use GM Tech2 do a crankshaft position relearn on a 2004 – 2012 Chevy Colorado /Canyon.
Thanks .
GM Tech2 Clone PCM Reprogramming on 96 LT4 Corvette Works
Big thanks to @ grandspt for his experience sharing.
I purchased a 1996 PCM that was used for short money, my goal was to
keep it as a spare for my ’96 LT4 Vette since parts are getting harder
to come by.
I removed my PCM and installed this used PCM. I took out my GM Tech 2
Clone, opened my Windows XP Netbook that I had previously installed the
TIS 2000 software (this software disk came with the Tech 2 Clone). I
opened the TIS 2000 application and went to the “Service Program
Application” and followed the steps to “Reprogram ECU”.
Now this used PCM obviously had a different VIN. So during the program
when it prompted me to see if the VIN was correct I deleted the old VIN
and entered in my cars VIN.
Then I uploaded the program for my VIN into the TECH2 Clone per the
prompts, disconnected the Tech 2 Clone from my Netbook and connected my
Tech 2 Clone to my OBDII port. I turned the ignition ON without starting
the car and selected “Service Programming System” followed the prompts
and watched the TECH 2 Clone load my VIN programming for my car.
It worked great, in fact I bought a second 1996 PCM for $150.00 and
performed the same procedure and that one worked just as well!
After I used my JET DST to upload my Tune for my engine into the PCMs.
The Tech II will obviously only install the factory calibrations. Now I
have two spares in case my original fails.
Hope this information is helpful.
TIS2000 Application
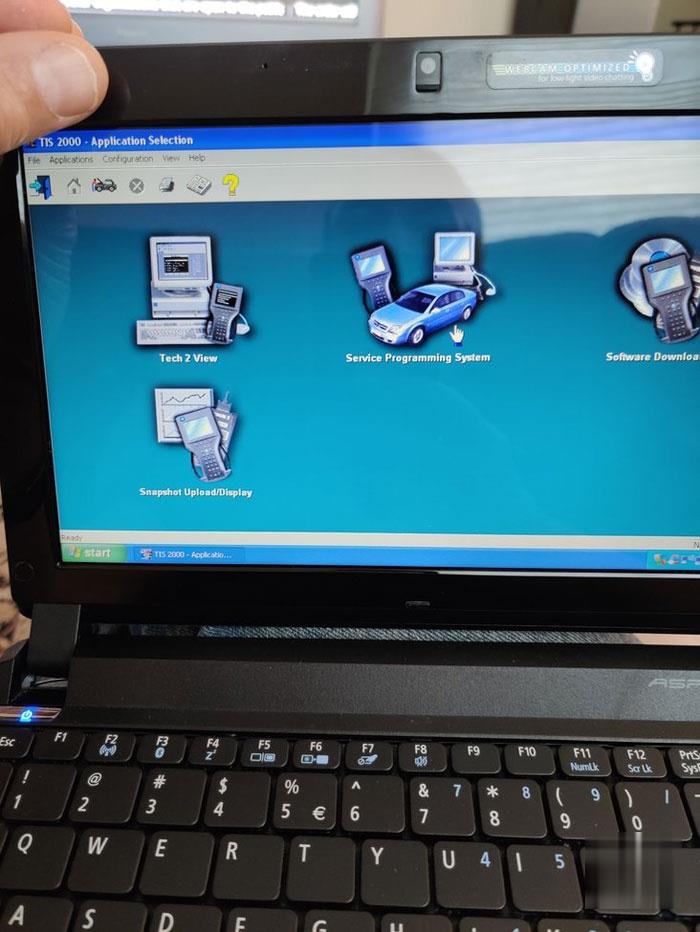
Here is where you select Reprogram ECU.
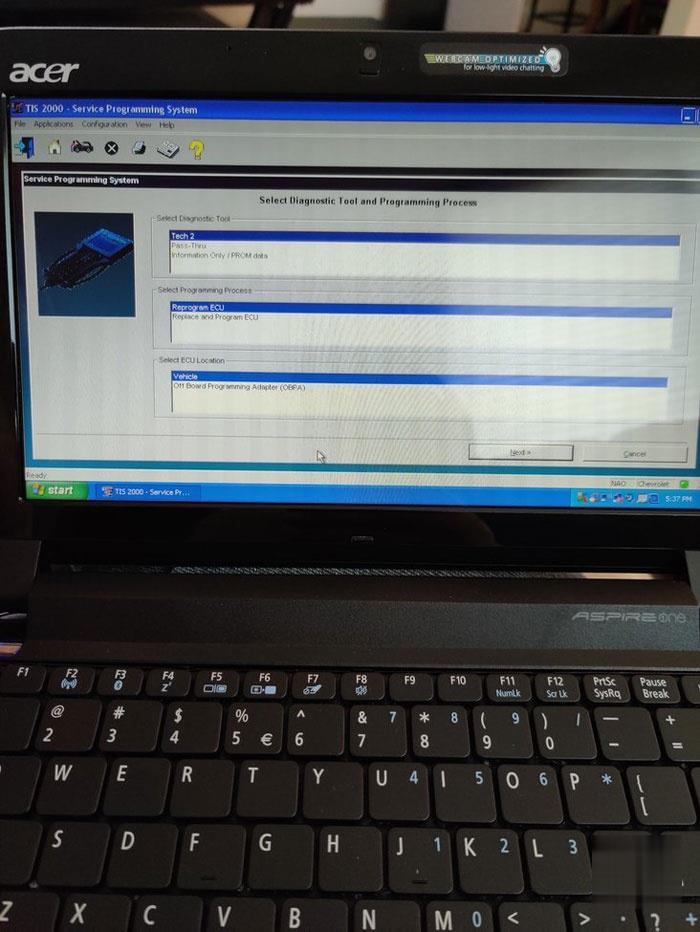
These are the prompts for the Tech 2 setup.

First I only have a 1996 with the OBD II, this is all I could experiment with so I can’t check other years.
I think it can also work on the 94, 95 model years as well, but I could be wrong.
The TIS 2000 software comes with the Tech 2 scanner.