Car diagnostic tools information by obd2tool

Welcome to my blog,here some auto diagnostic tools will be displayed. If you want to know more information,you can visit our official website: www.obd2tool.com.

Car diagnostic tools information by obd2tool

Welcome to my blog,here some auto diagnostic tools will be displayed. If you want to know more information,you can visit our official website: www.obd2tool.com.

How to Program CGDI ELV Emulator with CGDI MB Step by Step

How-to: program CGDI ELV Emulator with CGDI Prog MB Benz key programmer step by step.

program-cgdi-elv-emulator-0
Procedure:
program-cgdi-elv-emulator-1

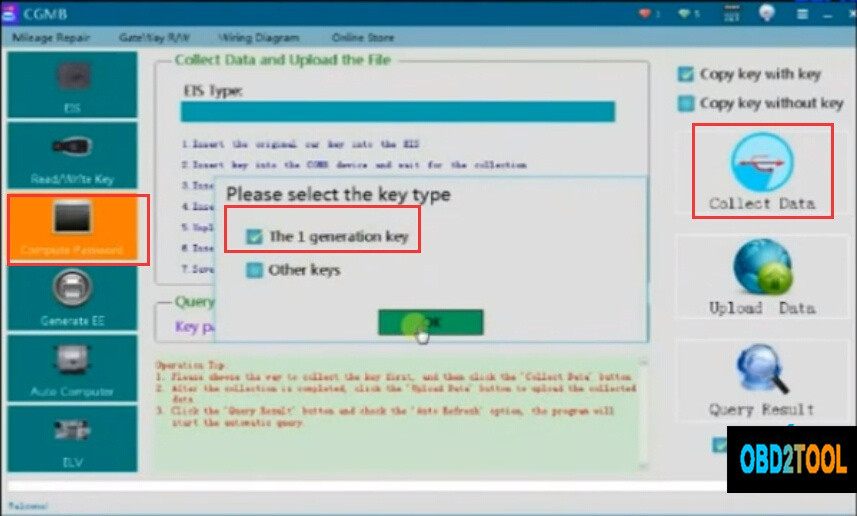
In CGDI MB Software, choose Compute Password option->Collect Data-> The 1 generation key
We start with insert key in EIS

program-cgdi-elv-emulator-2
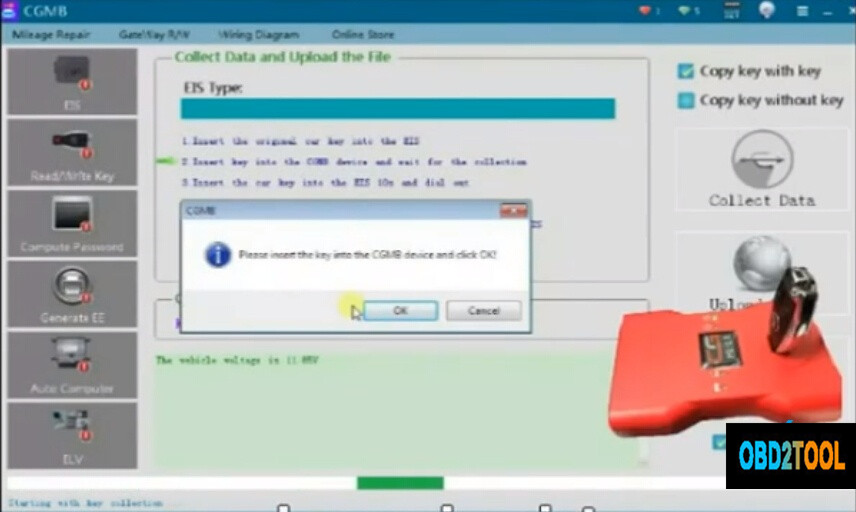
Remove key and insert it in CGDI IR shown as picture
We have to wait till its is 100% loaded without touching the key

program-cgdi-elv-emulator-3
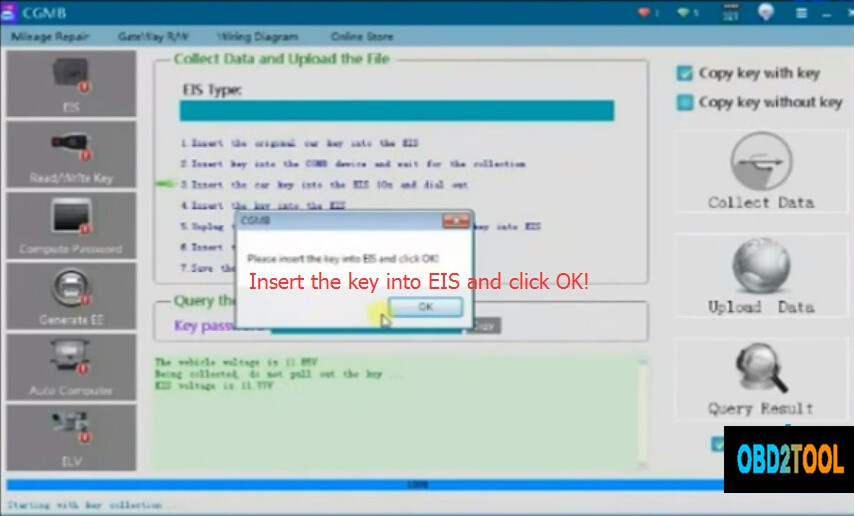
Remove key from CGDI MB and insert it back in EIS
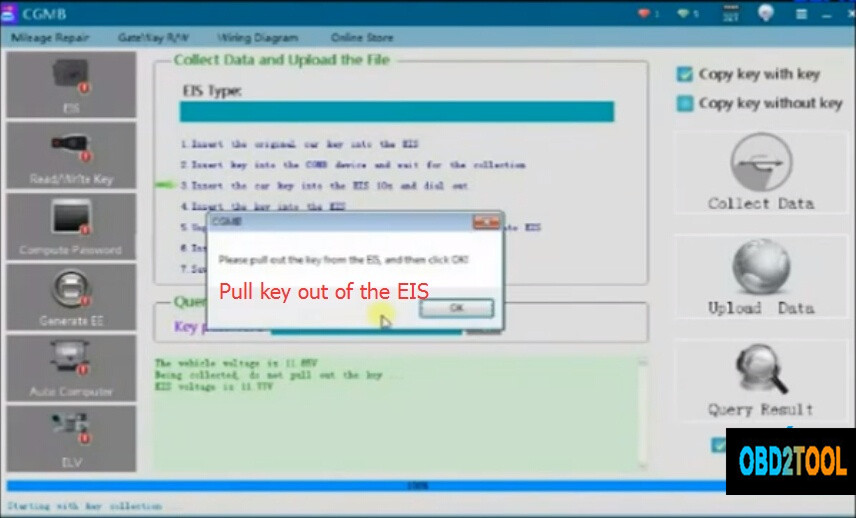
program-cgdi-elv-emulator-4
Pull key out of EIS

program-cgdi-elv-emulator-5
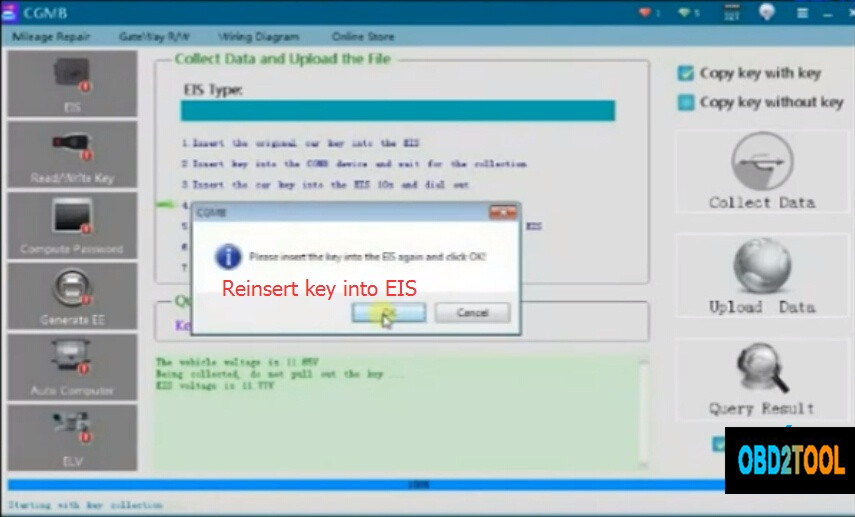
Reinsert key into EIS

program-cgdi-elv-emulator-6
Pull key out and count to 5 seconds then insert it back again, then press OK

program-cgdi-elv-emulator-7
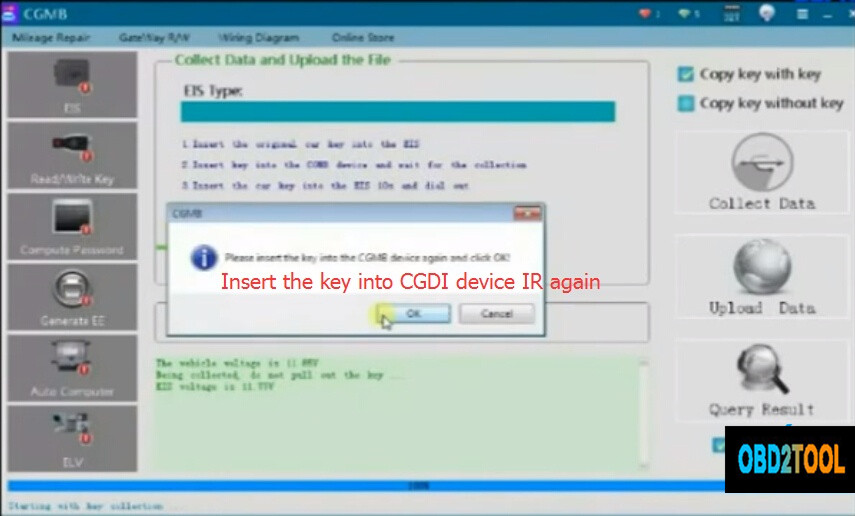
Insert key into CGDI IR

program-cgdi-elv-emulator-8
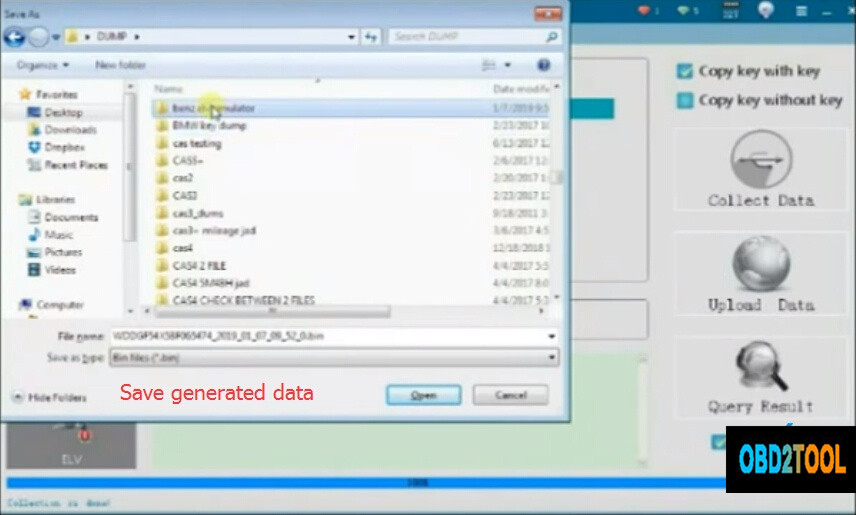
Save generated data, choose wherever you want to save data

program-cgdi-elv-emulator-10
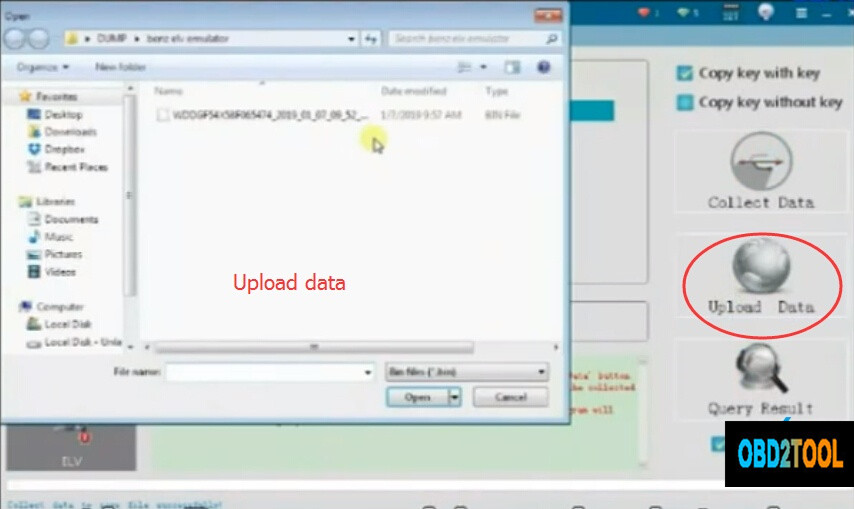
Then we can upload the data to server

program-cgdi-elv-emulator-11
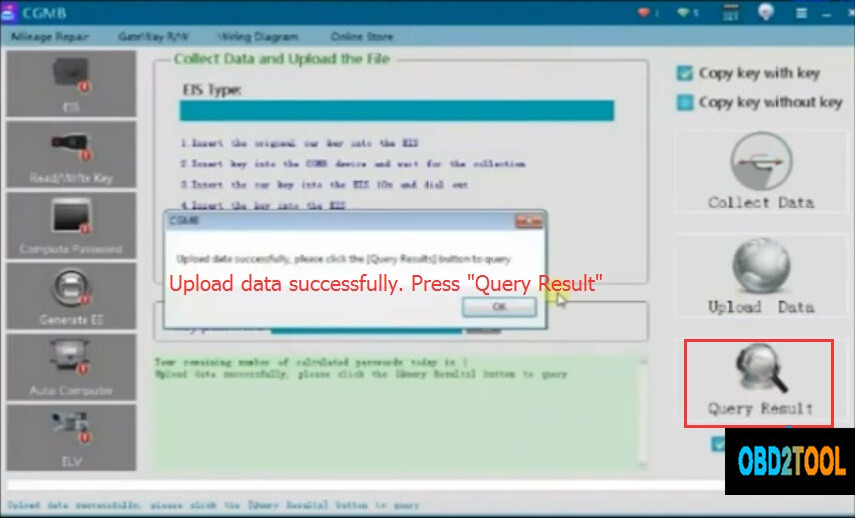
Press Query Result and wait till the password is calculated

program-cgdi-elv-emulator-12
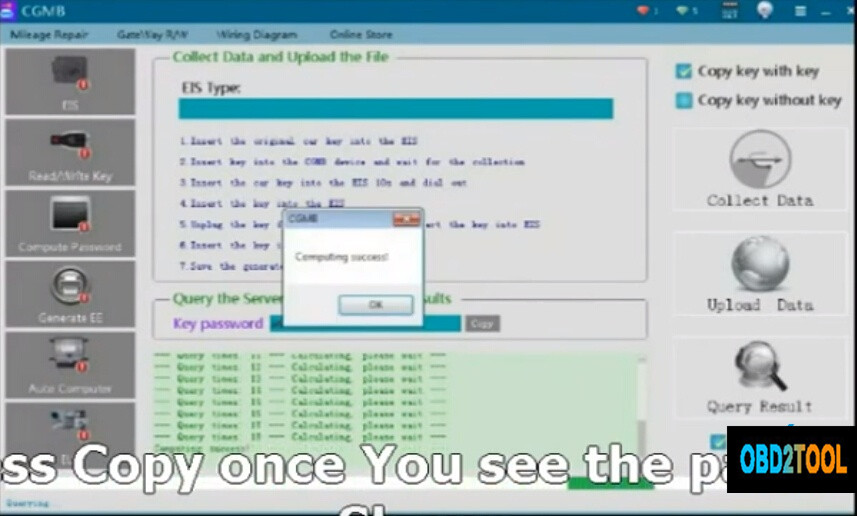
Calculate pass success. Press Copy button

program-cgdi-elv-emulator-13
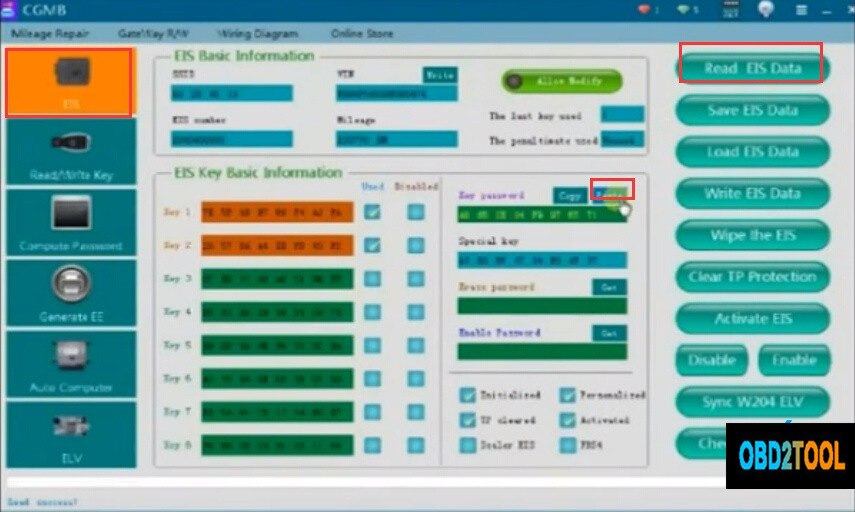
We choose EIS now and press Read EIS Data
Then paste the copied password previously
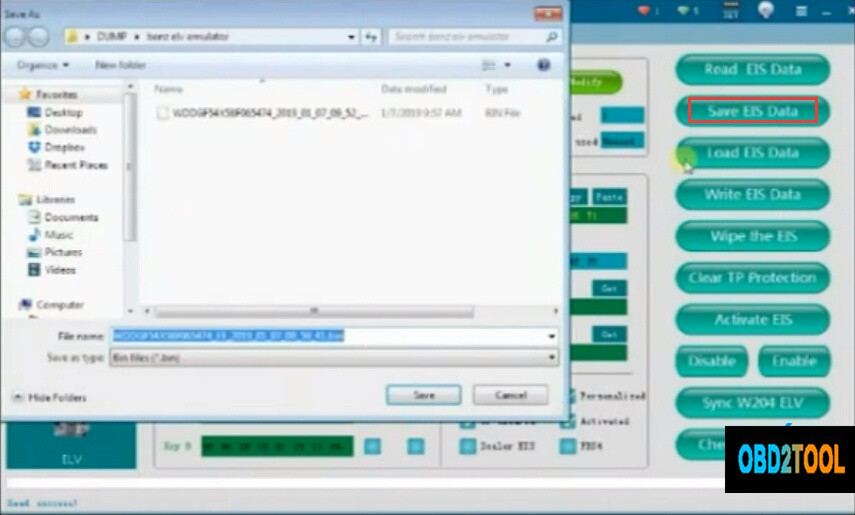
program-cgdi-elv-emulator-14
Save EIS data

program-cgdi-elv-emulator-15
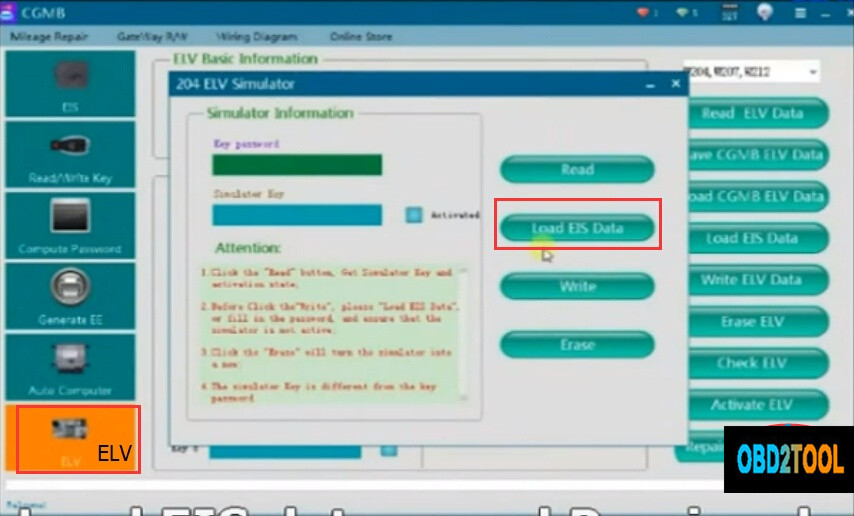
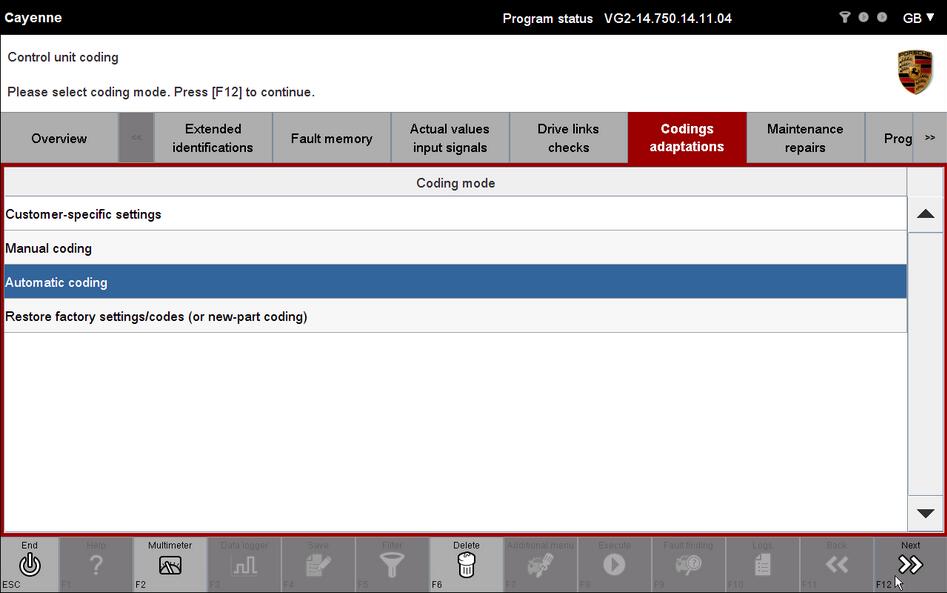
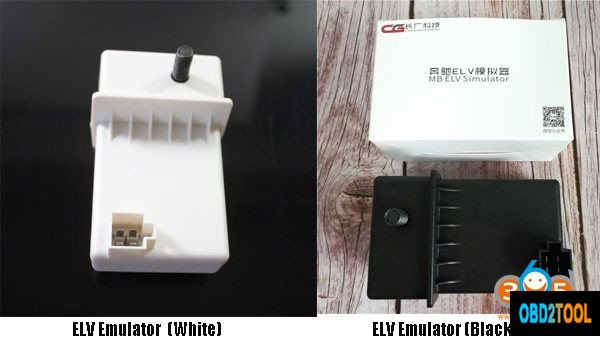
Now we go to ELV option
Choose Simulator
Load EIS data saved previously
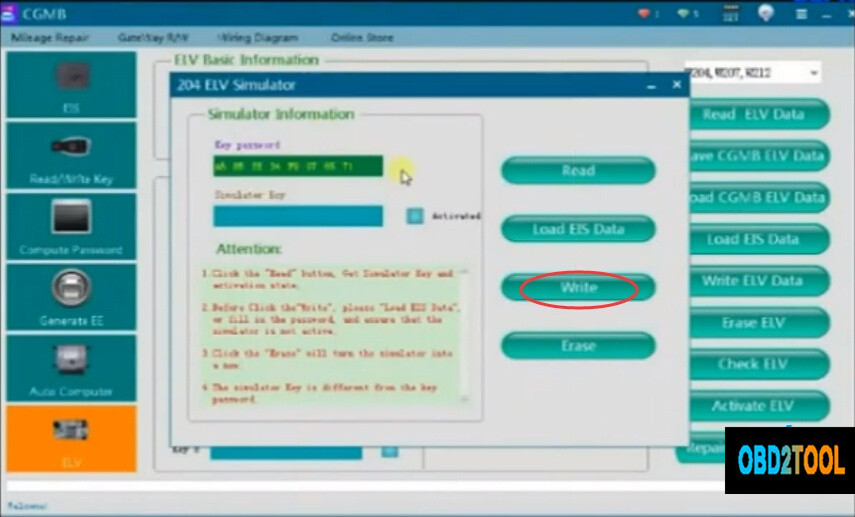
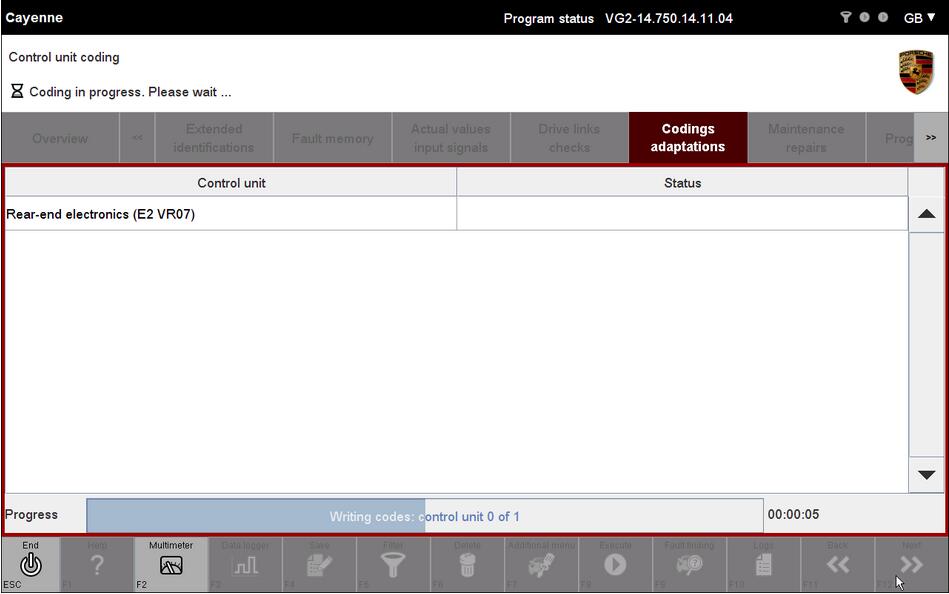
program-cgdi-elv-emulator-16
Press Write

program-cgdi-elv-emulator-17
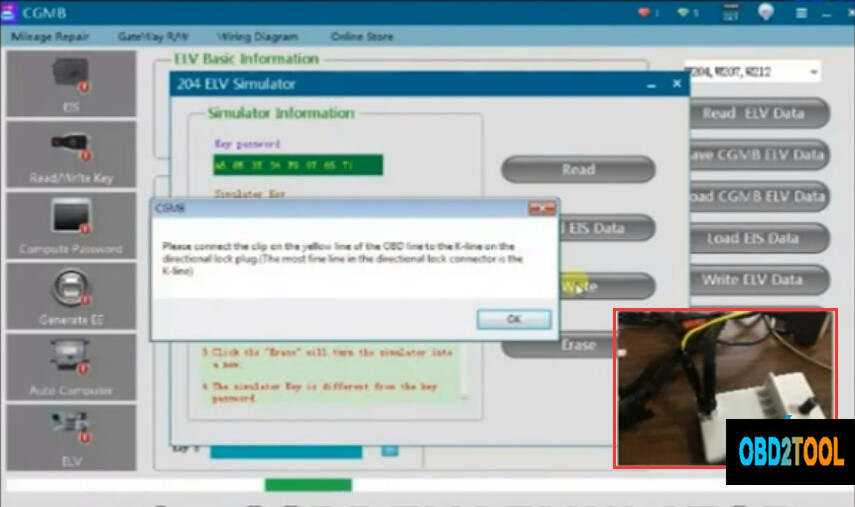
It will give you message Connect the yellow Kline from the OBD cable to the CGDI ELV emulator

program-cgdi-elv-emulator-18
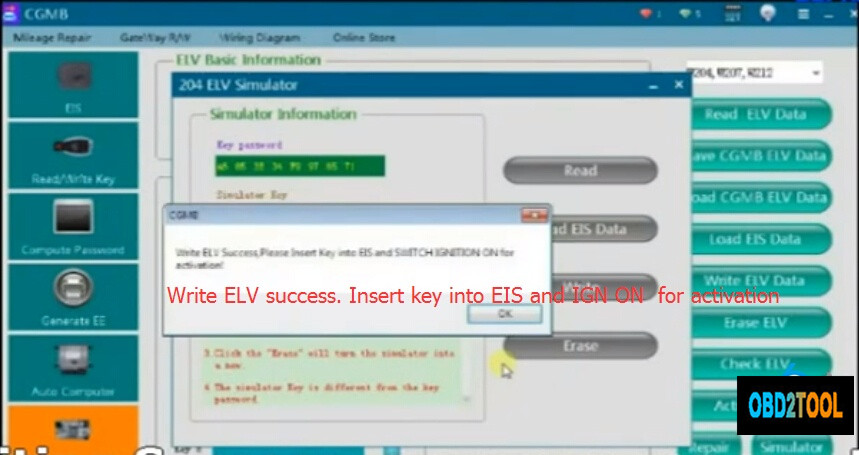
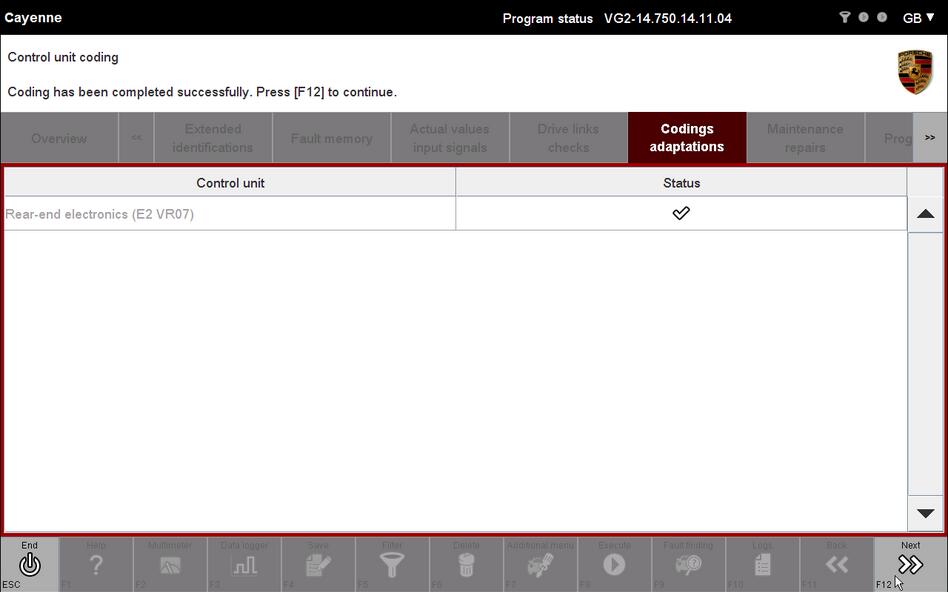
Writing success, now you can use the emulator
Turn on ignition switch to activate it.

Done.

Porsche PIWIS 2 Rear-end Electronics Coding for Cayenne

This article show a test for Porsche Piwis2 Rear-end Electronics coding for Porsche Cayenne.

Preparations:
Porsche PIWIS 2 V18.15 V17.500 Free Download
How to Install/Restore Porsche PIWIS 18.100 Universal Image

Procedures:
1.Click [DIAGNOSTICS]->[Cayenne]->[92A from MY 2011]

Porsche-PIWIS-2-Rear-end-Electronics-Coding-for-Cayenne-1
System initialing

Porsche-PIWIS-2-Rear-end-Electronics-Coding-for-Cayenne-2

2.Select [Rear-end electronics] then Click [Next] or press F12 to continue.

Porsche-PIWIS-2-Rear-end-Electronics-Coding-for-Cayenne-3

3.Press F11 to continue Create a VAL? Yes with [F12], no with [F11]

Porsche-PIWIS-2-Rear-end-Electronics-Coding-for-Cayenne-4

Control unit overview

Control unit search has been completed.Select control(s) and select the required function via the menu.

Porsche-PIWIS-2-Rear-end-Electronics-Coding-for-Cayenne-5

4.Click [Codings adaptations]

5.Select [Automatic coding] then click [Next] or press F12 to continue.

Porsche-PIWIS-2-Rear-end-Electronics-Coding-for-Cayenne-6

Control unit coding

Coding in progress.Pleasse wait…

Porsche-PIWIS-2-Rear-end-Electronics-Coding-for-Cayenne-7

6.Coding has been completed successfully.Click [Next] or press F12 to continue

Porsche-PIWIS-2-Rear-end-Electronics-Coding-for-Cayenne-8Porsche-PIWIS-2-Rear-end-Electronics-Coding-for-Cayenne-9

If you to get Best Price Porsche Piwis Tester II,please Connect us: sales@obd2tool.com

How to Connect Caterpillar ET Software from your Laptop to ECM

How to Connect Caterpillar ET Software from your Laptop to ECM?

-Open Caterpillar ET Software, it will automatically connect to ECM, Click “Stop Connect”.

How-to-Connect-Caterpillar-ET-Software-1
-Click on Menu: “Utilities – Preferences”.

How-to-Connect-Caterpillar-ET-Software-2

-If using Caterpillar Comm Adapter 3, and Mark on “Enable Dual Data Link Service”.

How-to-Connect-Caterpillar-ET-Software-3

-If using Caterpillar Comm Adapter II, and setting “Ports” (example: COM4) as your COM port at Device Manager.

How-to-Connect-Caterpillar-ET-Software-4

-If using NEXIQ USB-Link, Choose “RP1210 Compliant Device”, also Click Advanced button to select a specific RP1210.

How-to-Connect-Caterpillar-ET-Software-5

Xentry error 2221-45 No access authorization solution

One of customer had the Xentry error 2221-45 No access authorization when running Mercedes MB SD Connect C4
2016.07V Xentry diagnostic software. Here is the final solution provided by mbstarhsop.com engineer.

Problem:

(2221-45) No access authorization for XENTRY Diagnostic was found on the server. You must contact the User Help Disk.

xentry-2221-45-error

Solution I from mbstarshop engineer:

If you running Windows 7 hard drive, then

Browse to C:\Mercedes-Benz\Xentry\fusoko\eclipse\plugins, delete com.daimler_xentry.diagservice_1.6_0.2016.07181047 file.

xentry-2221-45-solution
2. If you running Windows 8 hard drive,then

Browse to C:\Program Files\Mercedes-Benz\Xentry\fusoko\eclipse\plugins folder,
Delete com.daimler.xentry.diagservice_1.6.0.201607151427 file

xentry-2221-45-win8-solution
Problem has been solved.

Solution II from a user

Software version: Xentry 2016.05

In folder
C:\Program Files (x86)\Mercedes-Benz\Xentry\fusoko\eclipse\plugins

Rename
com.daimler.xentry.diagservice_1.6.0.201603141505.jar
to
com.daimler.xentry.diagservice_1.6.0.201603141505.jarold

Then paste in
com.daimler.xentry.diagservice_1.6.0.201603141505.jar
from 2221 052016 folder

Solution III from another user

Software version: 05.2016 Xentry

Free download Xentry-2221-45-fix.rar:

https://mega.nz/#!Ip1GkQhR!hHakXl1U1Q5SEE_5NlIZcfSNRE_2CKDJSL9OLXTexYw

(2 fix)

Solution IV with lots of thanks & likes in a forum

Software version: Xentry 2016.5

replace the file call com.daimler.xentry.diagservice_1.6.0.201605121225.jar in the folder
c:\program Files(x86)\Mercedes-Benz\Xentry\fusoko\eclipse\plugins
with the attachment below

2016.05-Xentry-[2221-45]-Fix.rar:

https://mega.nz/#!11kxTZZA!uBWlUVOx7XzWai-T7eSPJt6V_lVhG2Pl5PI02oUNXUM

Whats the Difference Between BENZ ECOM and MB STAR C4

Benz ECOM DoIP Diagnostic And Programming Tool is the diagnostic and swipe communication interface used by daimler-benz’s production and r&d department. It supports the after sales diagnostic software Xentry, Vediamo, and the Monaco DTS, the exclusive development software, with higher access rights than MB STAR C4 .

So whats the difference between BENZ ECOM and MB Star C4 ? Lets check as bellow :

1. BENZ ECOM :

BENZ-ECOM

It support diagnostic software Xentry, engineering software Vediamo and super DTS Monaco, it has a than higher access right than MB STAR C4 . And it work on latest Mercedes to year 2019.

Ecom supports the CAN/DoIP protocol, which can be used to diagnose and programming (brushing & writing) for the new car audio and video entertainment systems.

The Mercedes-Benz engineering database of diagnosis / coding / retrofit /flashings is using the Xentry database, so the Mercedes-Benz engineering version depends on the version of Xentry, as long as the database is new, the V4.00 version can be used on new models. C3 Star can be used.

SDC4 does not support ODX documents. The latest V5.00 uses eCom to support ODX files. It is recommended to use Ecom, with DoIP function, the speed is faster and more stable.

2.  MB STAR C4
MB-STAR-C4-1
It support the diagnostic software Xentry, DAS software diagnostics, engineering Vediamo, super DTS Monaco, Xentry and DAS Developer mode etc.

Common Name: Developing Data Engineering Edition After 2010

Version, added a lot of functional restrictions. So everyone will encounter the problem that the vehicle version is too new to enter

the control unit, or entering the control unit and cannot make any special modifications. For example: W204 /212 2012

The instrument is needed to modify the regional language configuration or open other convenient functions. With the increasing number of new car with DoIP protocol, the MB star C4 has slowly failed to meet market demand.